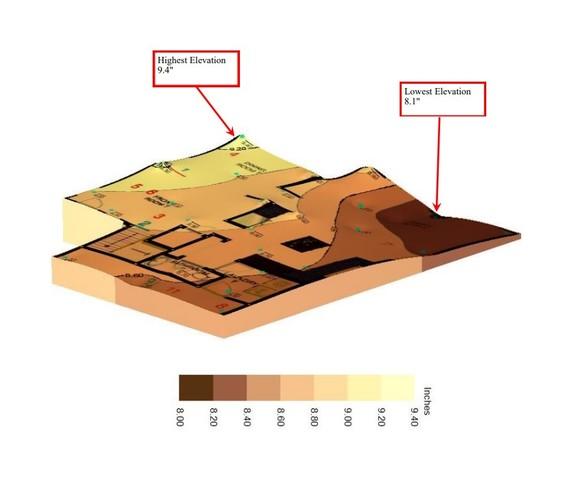
Mapping it Out
The 3D topographical map is a 3D representation of the heave and settlement happening beneath the home.
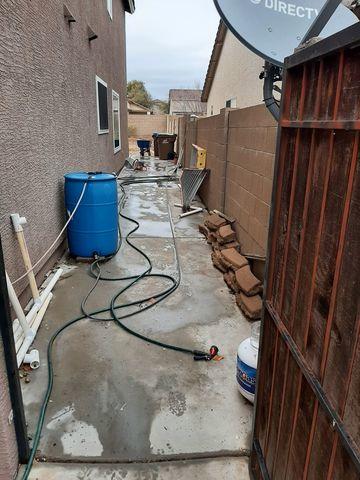
Before Underpinning
Here you see one area of the home before our crew began installing piers.
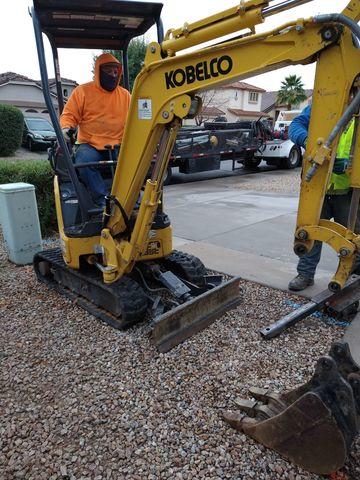
Beginning of Excavation
One of our Homeowner Heroes running the excavator to get the holes dug for the piers.
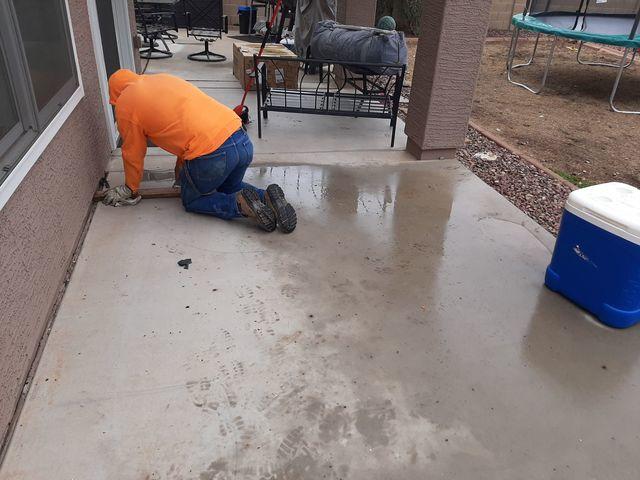
Cut it Out
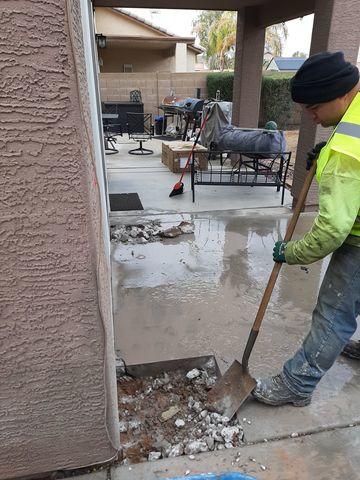
For some areas of the home piers needed to be installed under concrete. This involves cutting out some concrete to dig the hole.
Hand Digging
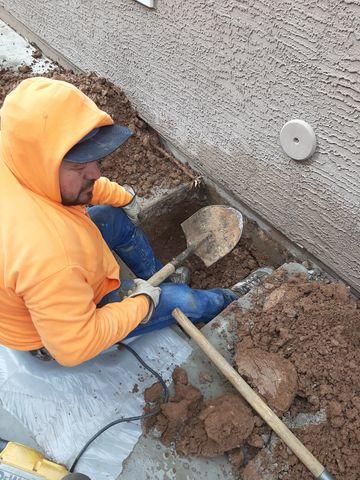
Once the concrete is cut out the crew can hand dig the dirt out.
Hand Digging - 2
Hand digging also allows the crew to be more precise. This in important as the piers need to go deep into the ground.
Excavation Complete
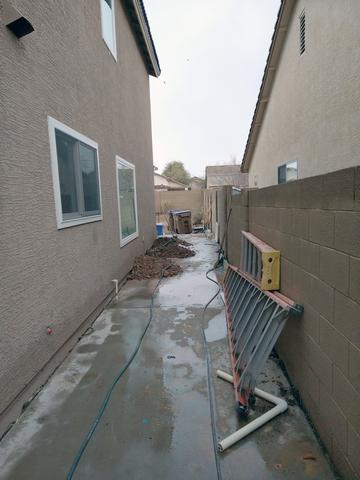
Same portion of the home from earlier but now you can see the holes of been dug and the crew is ready to install the piers.
Pier Installation
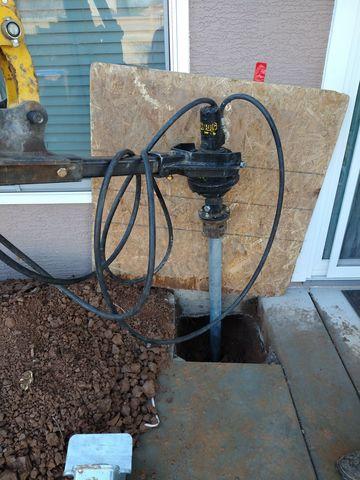
Here you see the process of driving the pier deep into the ground past the unstable soil.
The Lift
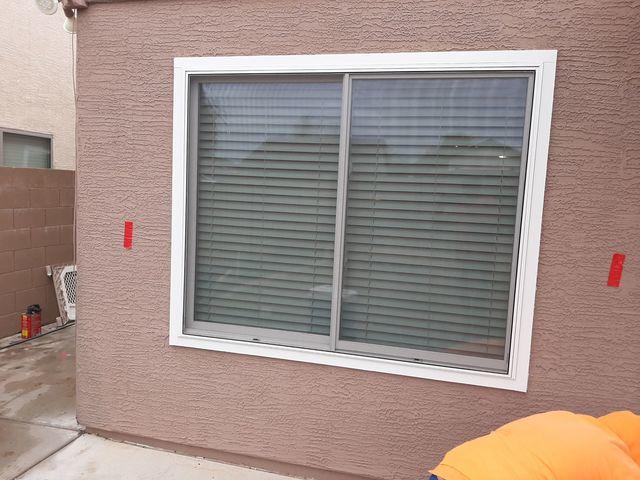
After the piers are installed the crew performed a hydraulic lift on the home. the tape you see on the wall is to help the crew know how far the home has lifted.
Pier
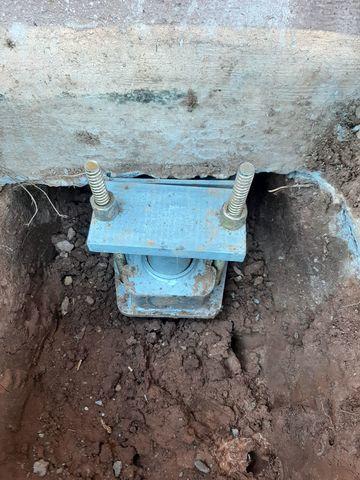
Here you see the pier after had been successfully driven into the ground and the bracket put securely in place.
Filling It In
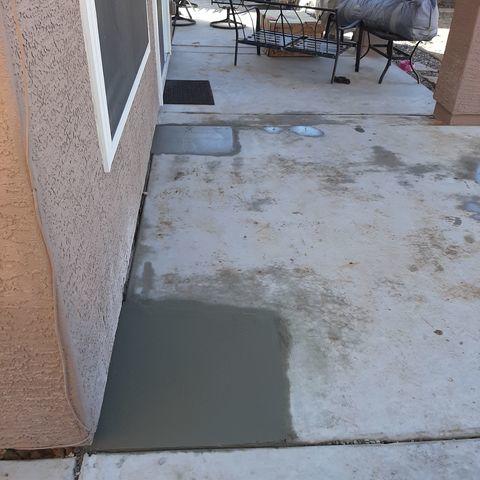
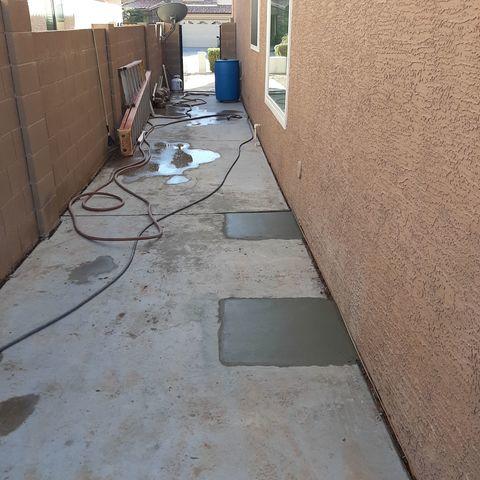
Remember our crew cutting out the concrete? Once the install is complete the holes are backfilled and concrete is repoured
Filling It In - 2
Our Homeowners did a great job with the underpinning and bringing peace of mind to the Homeowner.
