
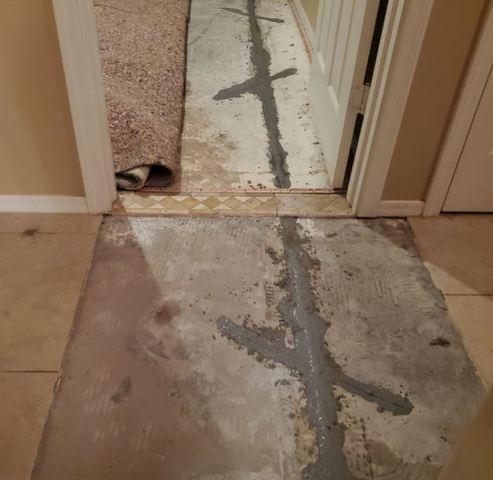
Crack Stitching System Repair: Carbon Fiber Laminates
The first step to seal the concrete cracks correctly is to make some non-parallel cuts. The cuts need to be made over the cracks to add some carbon fiber laminates.
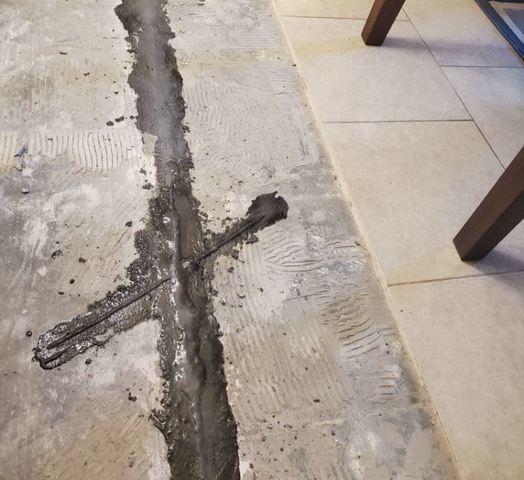
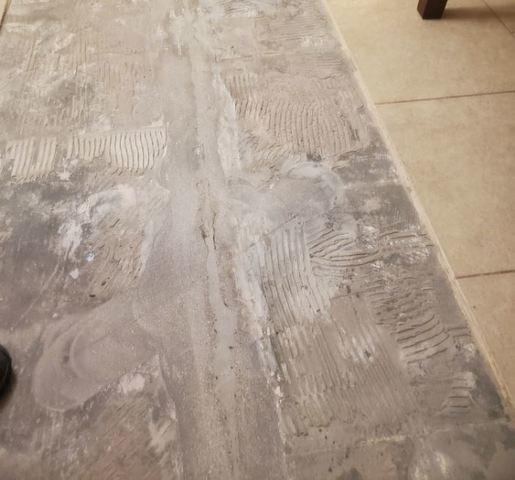
Crack Stitching System Repair: Sealing & Filling
After Adding the Carbon fiber laminates, a low viscosity material gets added to completely seal and fill the concrete cracks.
Cracks After the Crack Stitching Repair System - 1
This is a picture of the floor after the Crack stitching Repair System.
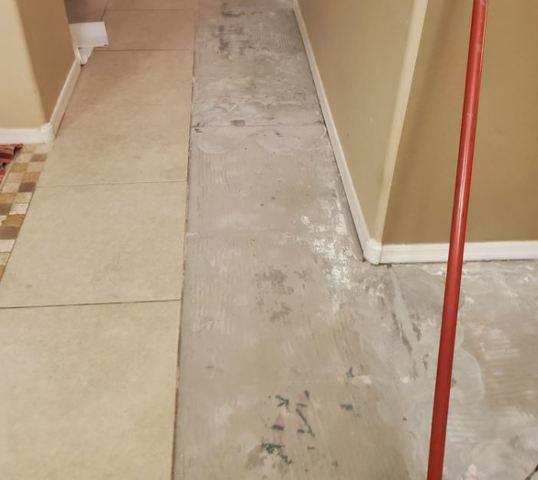
Cracks After the Crack Stitching Repair System - 2
Here is another great picture of what a floor after the crack stitching repair system looks like.