
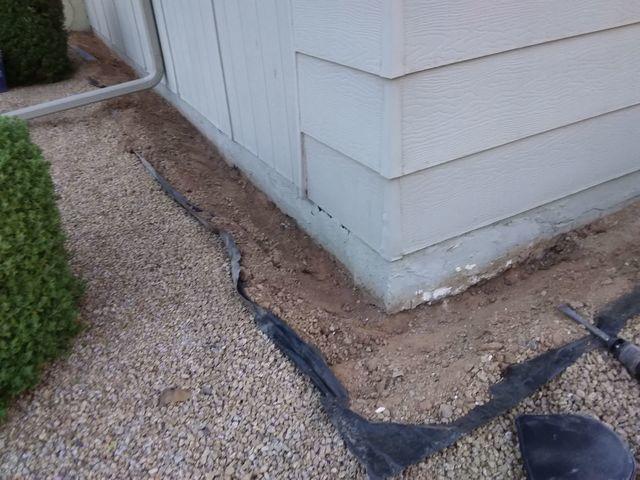
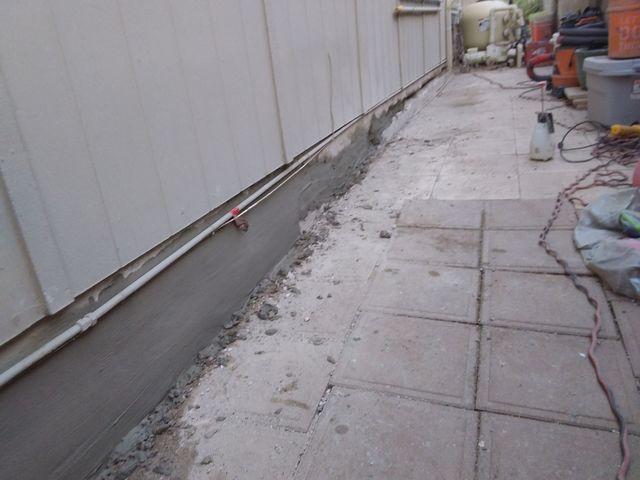
Stem Wall Repair - Before
A look at the damaged stem wall before our crew began their work.
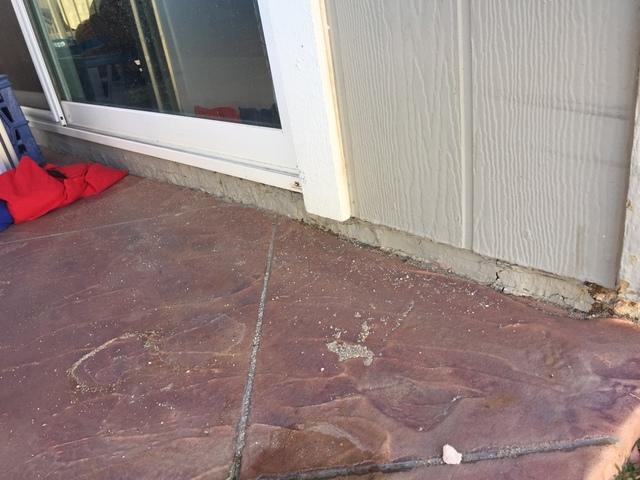
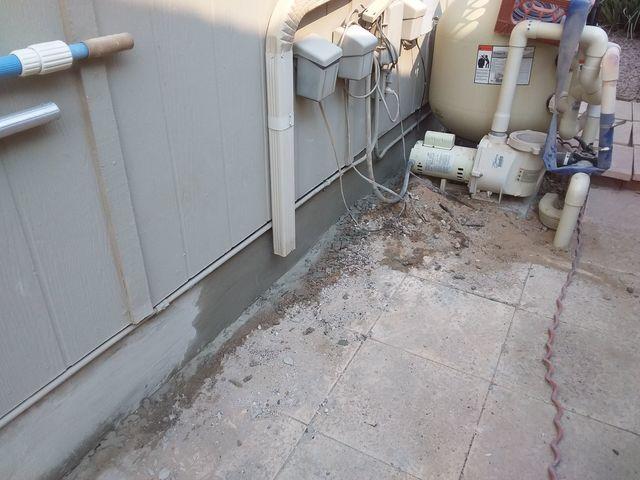
Stem Wall Repair - Before
Another area of the home with damaged stem wall.
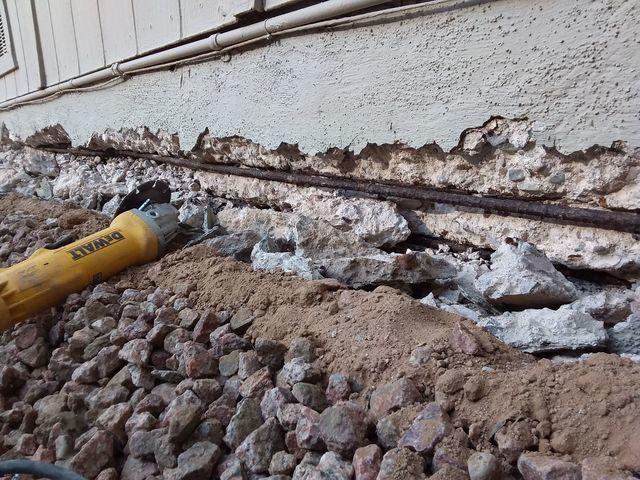
Stem Wall Repair - Rebar
Here you can see the crew cut out weaken concrete and exposed the existing rebar. The rebar is also cut out to make way for our patented NeveRust® non-ferrous composite.
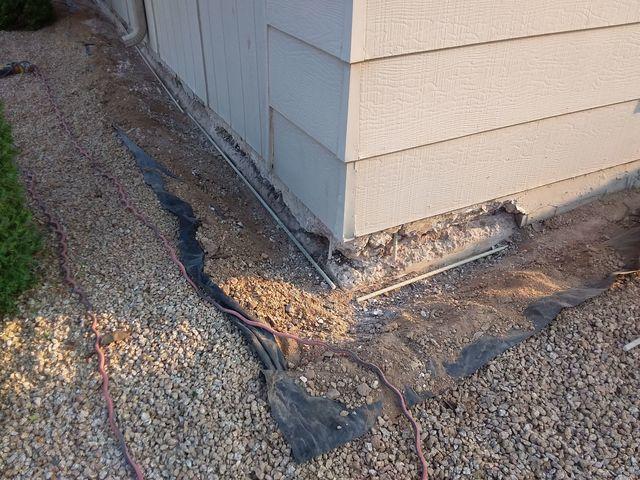
Stem Wall Repair - NeveRust®
Stem wall after the the rebar had been removed also you see the NeveRust® composite before install.
Stem Wall Repair - After
After the NeveRust® is installed the stem wall is patched.
Stem Wall Repair - After
Just another looked a completed area of stem wall.