
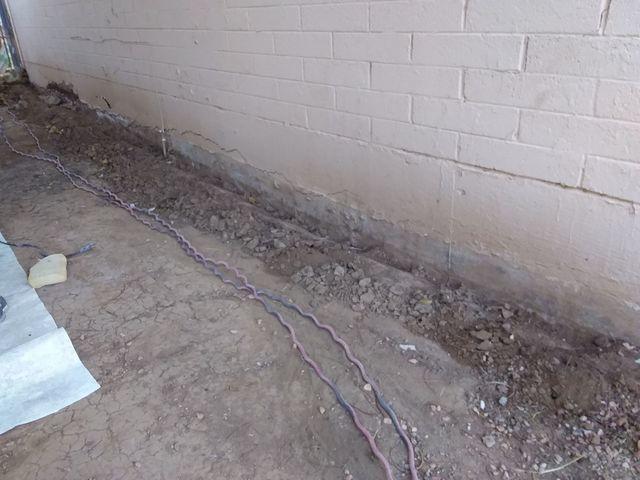
Stem Wall - Before
Here, you see one area of the home's stem wall that is damaged
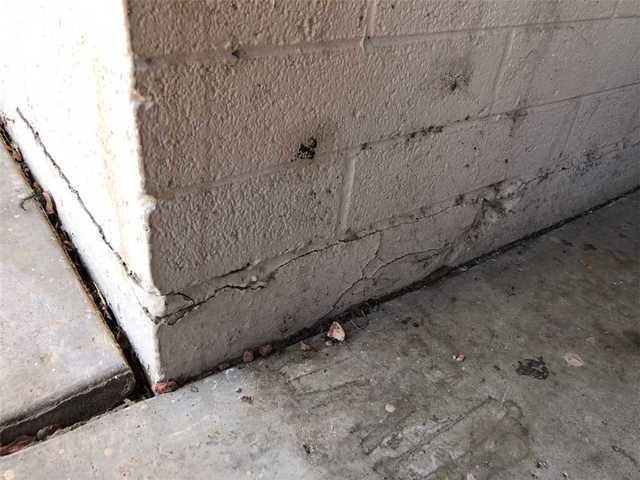
Stem Wall - Before 2
Another area of damaged stem well. The rebar inside oxidized and weakened the stem wall.
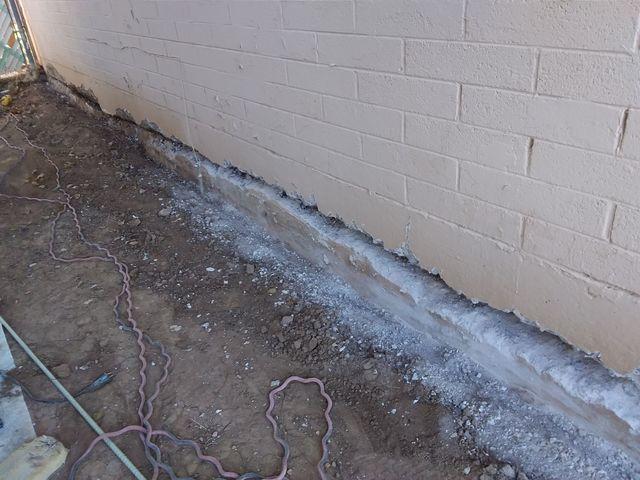
During Repair
The crew cut out the weakened concrete and the existing rebar. The rebar was replaced with our patented NEVERUST non-ferrous composite.

Stem Wall - After
After the NEVERUST composite is installed the stem wall is patched.
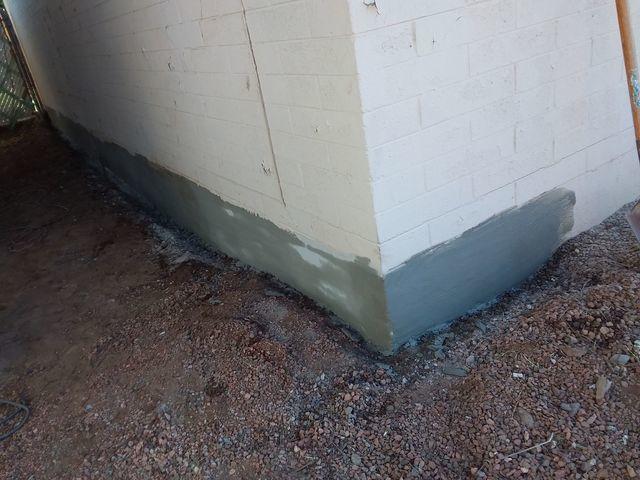
Stem Wall - After 2
A second look at the patch stem wall.