
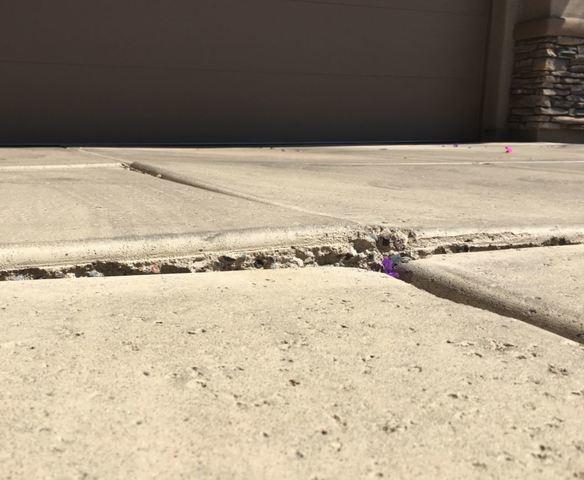
Before PolyLevel® Injection
The driveway started to gradually sink in the past years. One day the issue became very visible, and the Homeowners considered the problem a hazard since people can trip on it.
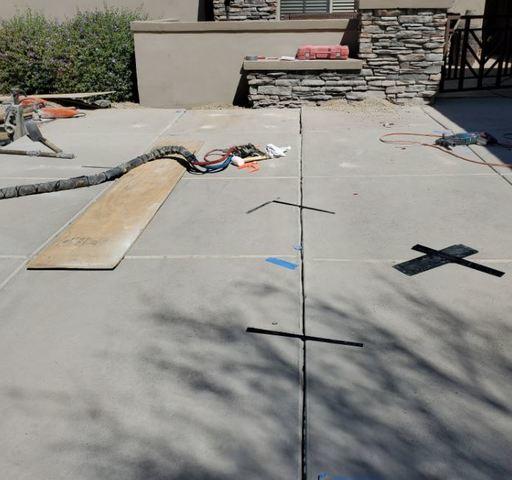
Mid PolyLevel® Injection - 1
In this step of the process, Tape is implanted onto the concrete cracks to see a change when injecting the PolyLevel®. Another step of the process is to drill several holes in the concrete slabs.
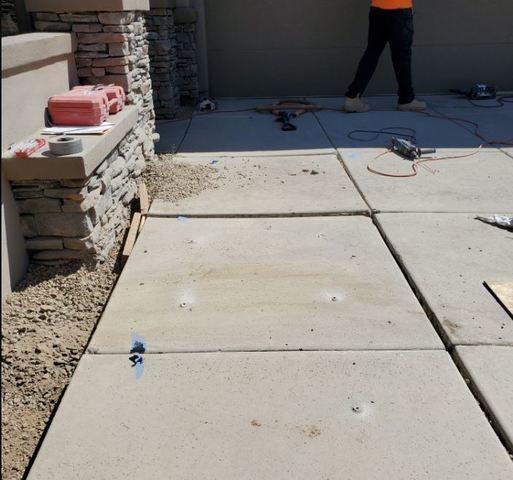
Mid PolyLevel® Injection - 2
The PolyLevel® needs to get injected slowly into each of the holes. The reason for this is to let the PolyLevel® fully expand and solidify.
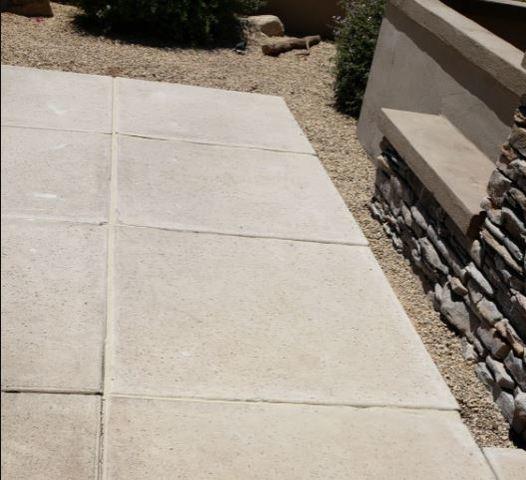
After PolyLevel® Injection.
This is a photo of the concrete slabs on the driveway already leveled. The trip hazard is gone for good thanks to Arizona Foundation Solutions.