
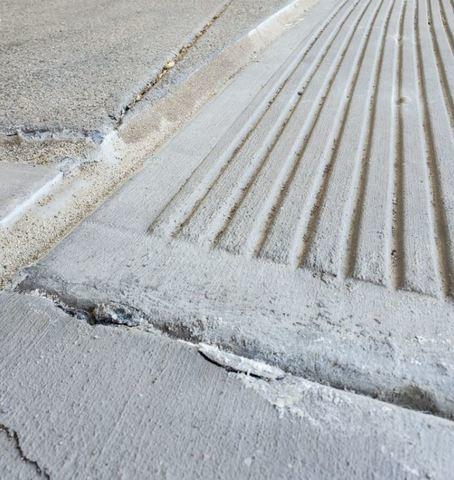
Before PolyLevel® Concrete Repair Procedure
As you can see, the concrete slabs are uneven and there are concrete cracks already; this is due to the gradual movement of the soils. If the problem does not get resolved, more cracks can come out making the problem more significant, dangerous, and costly.
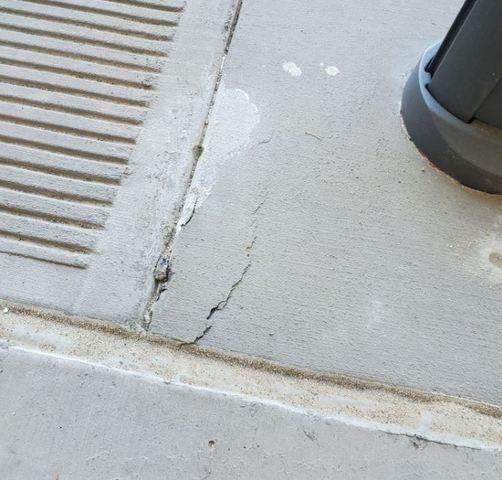
Before PolyLevel® Concrete Repair Implementation
Here is another photo of symptoms of heaving and/or settlement problems. The concrete cracks on the concrete slab show signs of stress and unwanted soil movement.
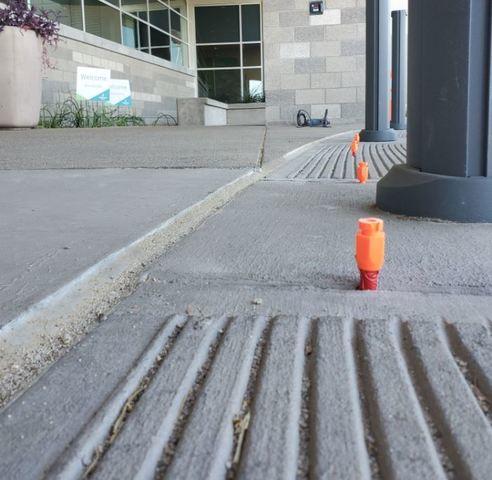
3. Mid PolyLevel® Process Installation
To have a successful and long-lasting PolyLevel® installation outcome many holes need to be drilled systematically. The reason for drilling holes at the same distance is because there must be a space for PolyLevel® to expand. Our heroes need to be very careful, so it gets as even as possible
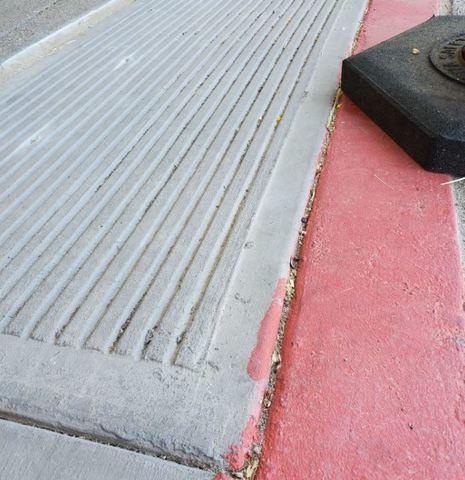
After PolyLevel® Concrete Repair Procedure
This is the result of the PolyLevel® system as you can see the floor is even again. This procedure will prevent the floor from cracking and causing more damage to the property. PolyLevel® takes up to 15 minutes to fully extend and solidify completely, so it just a matter of minutes for the procedure to get finished.