
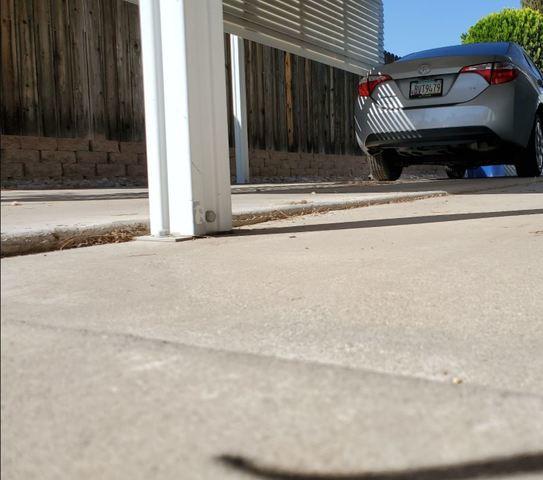
Before PolyLevel® Concrete Repair
This is how the driveway of the homeowners used to look before getting PolyLevel® Concrete Repair done. As depicted in the picture, the problem was very close to the household, and it was causing a lot of trouble.
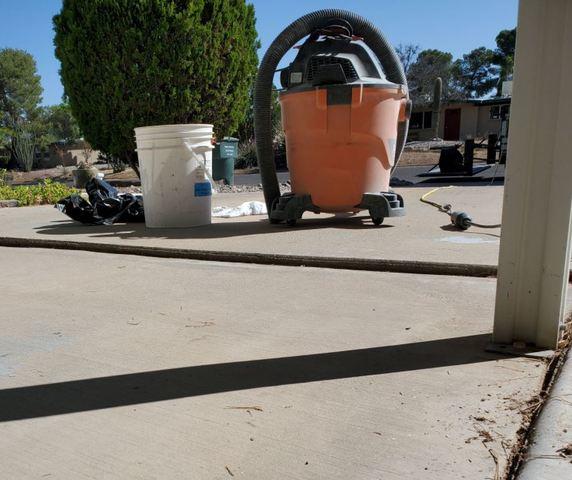
About to Start Injecting the PolyLevel® Material
In this step, our great team is getting their equipment ready to start injecting PolyLevel®. Eventually, the concrete floor is going to start cracking and making noises due to the motion that PolyLevel® is causing to level the floor back to normal.
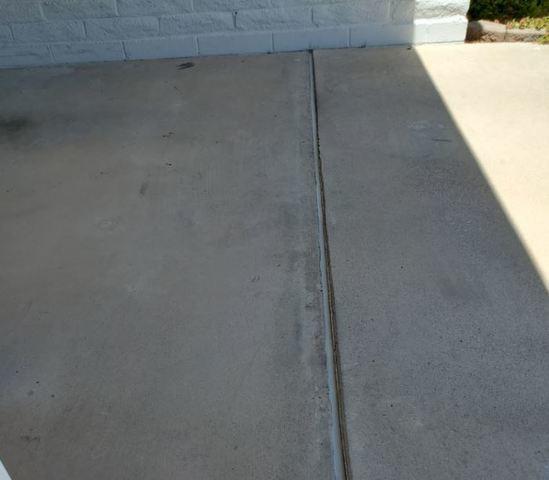
After PolyLevel® Concrete Repair Procedure
This is the result of the implementation of PolyLevel®. As shown in the photo the level went back to normal. All the problems regarding their floor on the driveway went away.