
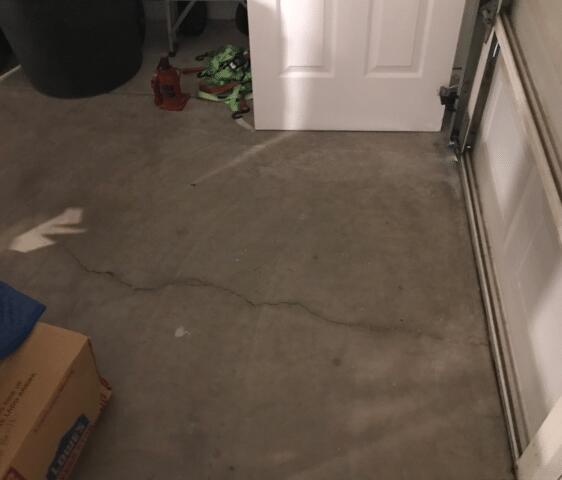
Symptom of Foundation Problems - 1
Some cracks were in the garage and were extending even more.
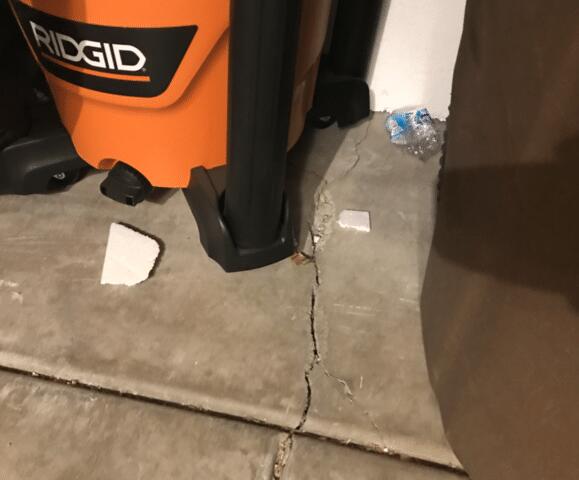
Symptom of Foundation Problems - 2
Here is another picture of one of the house's areas with the most noticeable concrete cracks.
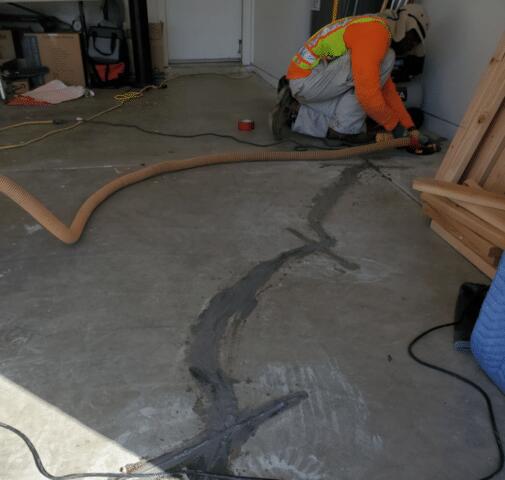
Crack Stitching System Repair: All in one
The steps to properly seal a concrete crack is to make some non-parallel cuts along the cracks and then add carbon fiber laminates. When that step gets completed, it would be time to add a low viscosity material called Polyurea, as shown in this picture.
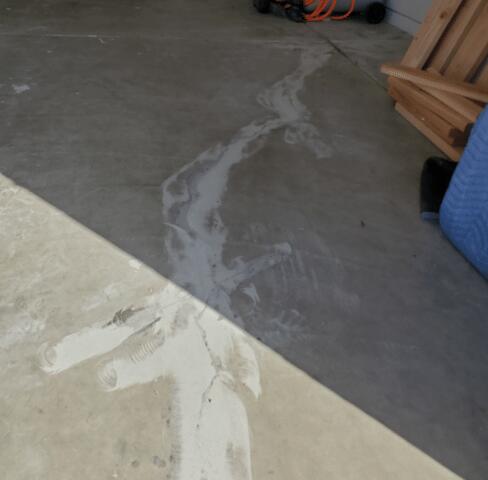
Crack Stitching System Repair: Last Step & Final Look
For last, our home heroes needed to grind the surface to make it look smooth and neat, as in this picture.