
Pier Installation Process: Inspecting & Digging
The first step of the Underpinning installation process after doing a B inspection is to dig on the determined spots around the house's foundation.
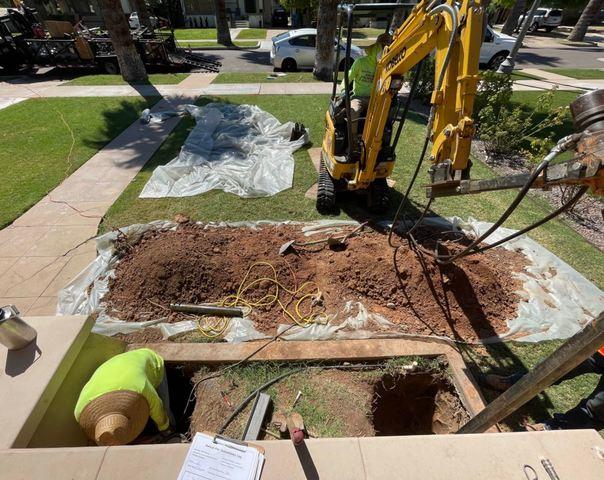
Pier Installation Process: Distance is key
The holes always need to have a specific distance between each other to work properly.
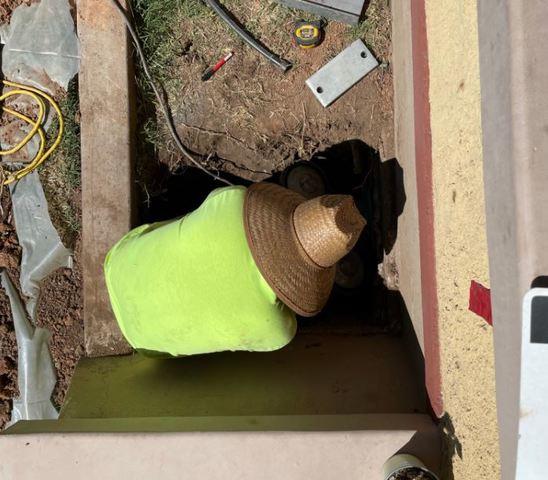
Pier Installation Process: The Right Place & The Right Support
In this picture, one of our home heroes is placing the pier in the right place to start installing it.
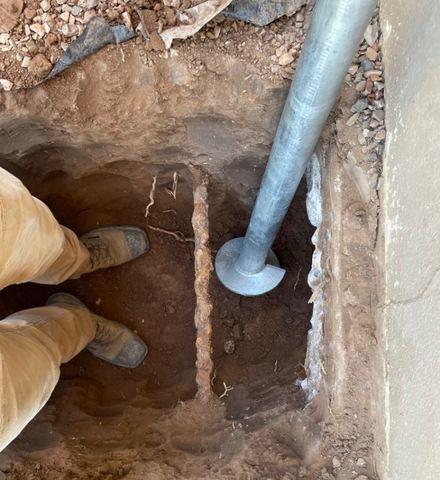
Pier Installation Process: Proactivity and & The Right Angles
One important step is to double-check that all the piers are at the perfect angle to provide maximum support. If for some reason, the piers are at a bad angle, all the weight of the foundation will rest in the rest of the piers, putting more pressure on them.
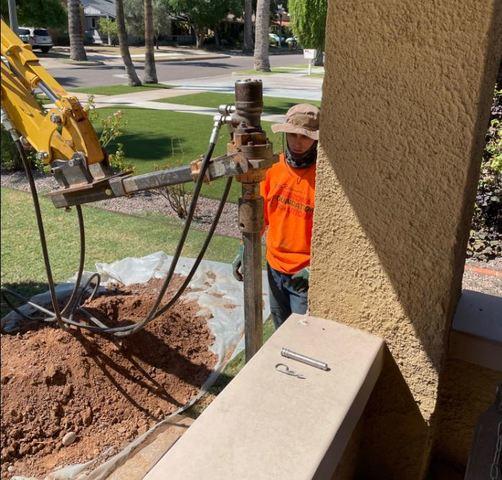
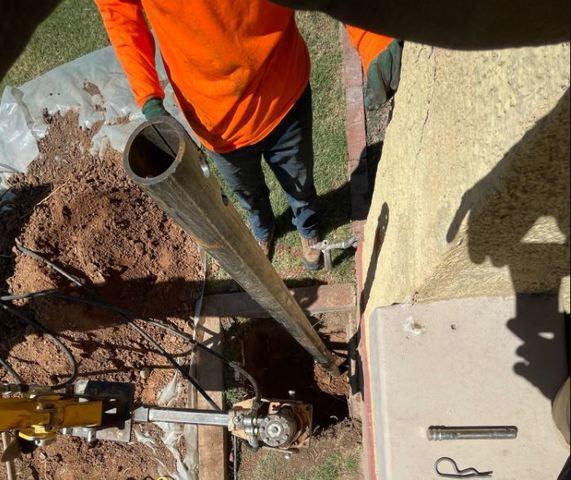
Pier Installation Process: Teamwork & Heavy Machinery
In this picture, our professionals are about to install the pier with the assistance of heavy machinery and teamwork.