
Before Stem Wall Repair
Horizontal cracks in a stem wall indicate that the rebar inside has oxidized and weakened the surrounding concrete.
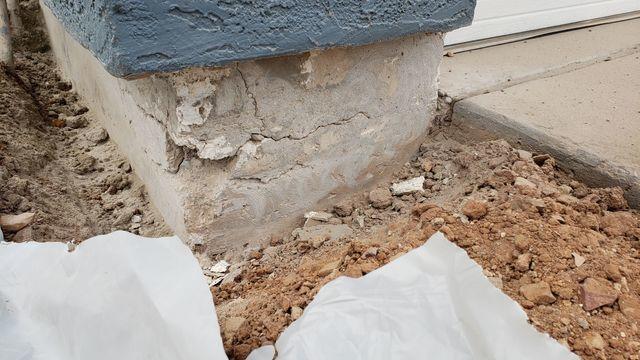
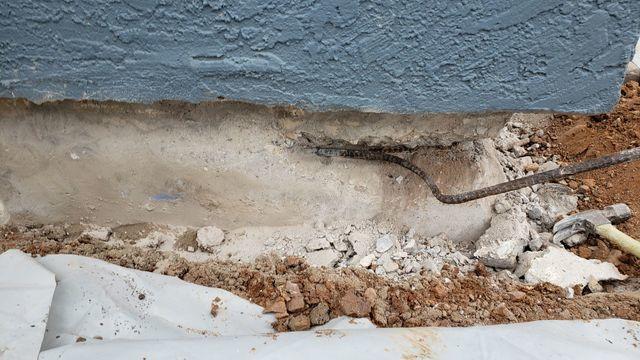
Damage Close Up
Here you see a closer look at the damage in stem wall.
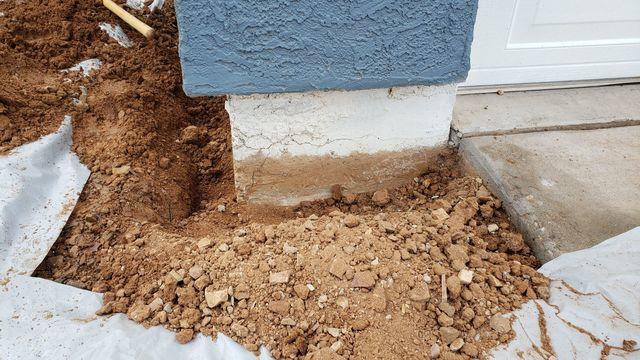
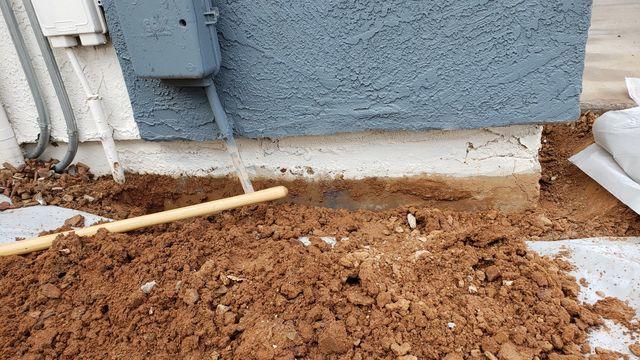
In the Trenches
Raymundo and his crew started by digging a trench around the damaged area of stem wall.
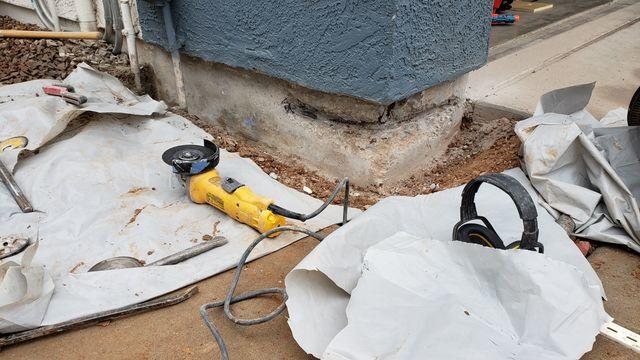
Cut it Out
The damaged concrete is cut out to expose the existing rebar.
Rebar be Gone
Like the concrete the rebar is cut out to make way for the NeveRust composite
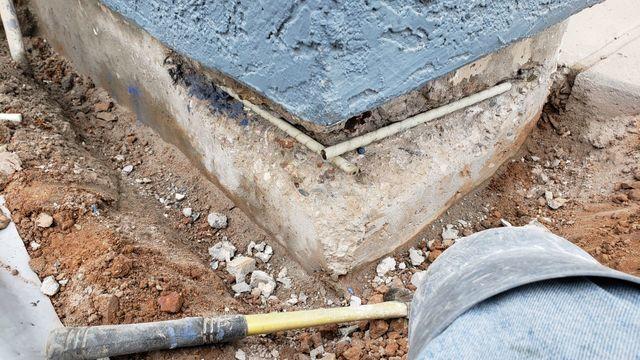
NeveRust Install
Here you see the NeveRust composite has been put in place.
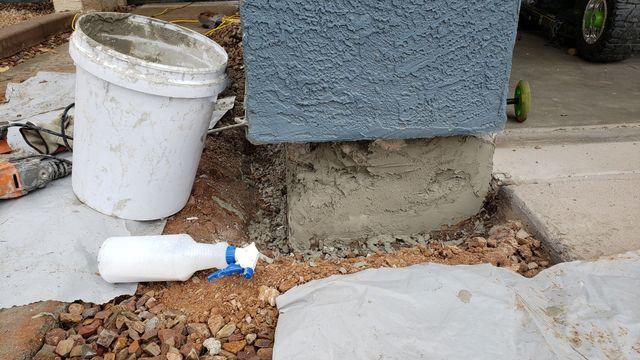
Stem Wall Patch
The crew began to patch the wall after the NeveRust had been installed.
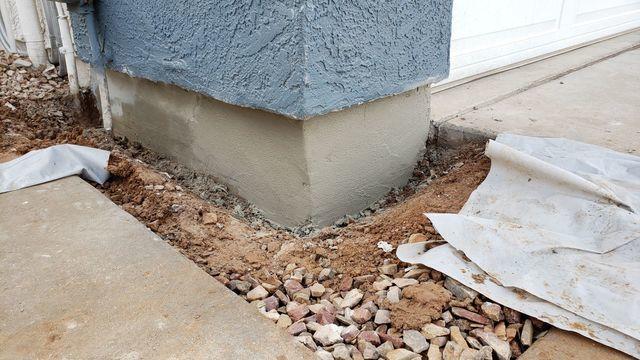
Finished Product
The stem wall looks great and the NeverRust is guaranteed to well never rust.
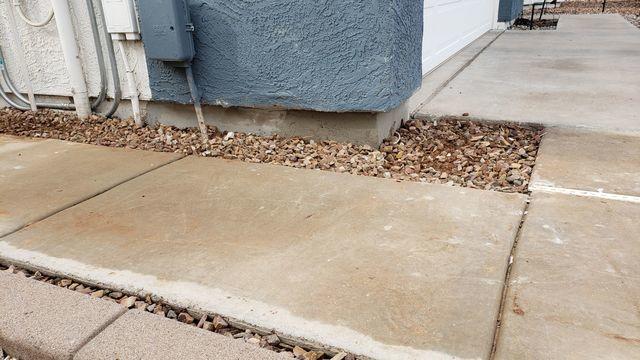
Finished Product - 2
I a wider look at the area repaired.