
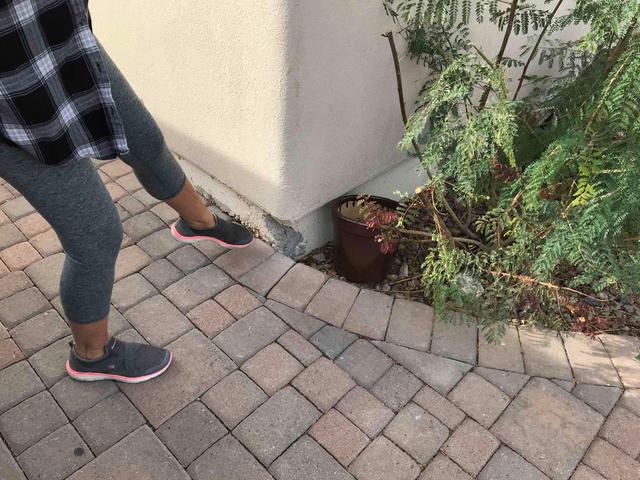
Stem Wall Inspection
During the inspection with our Sale Consultant, the Homeowner points out the damage.
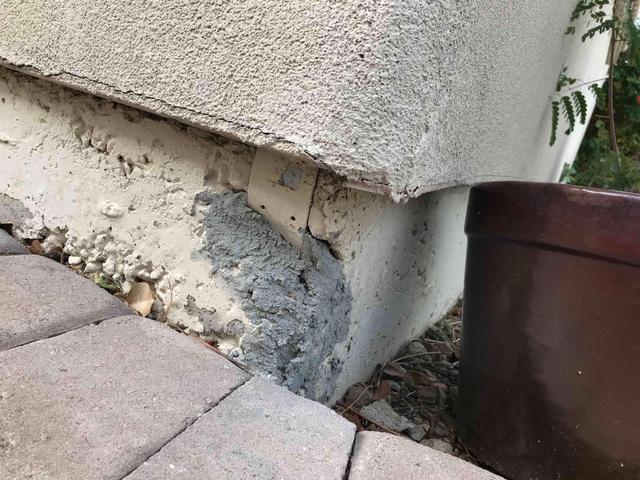
Damage Close Up
Here you see a close up of the very damage in the pervious photo.
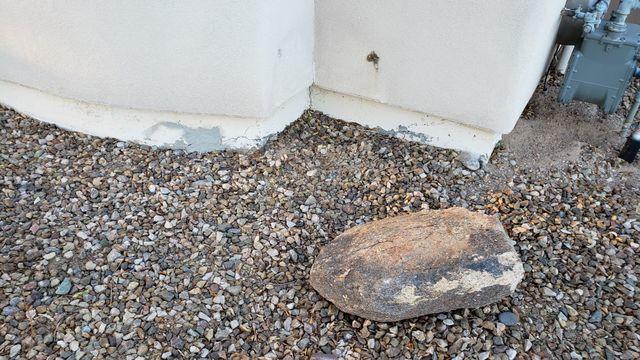
Before Repair
A look at another portion of stem wall before Foreperson Raymundo begin his great work.
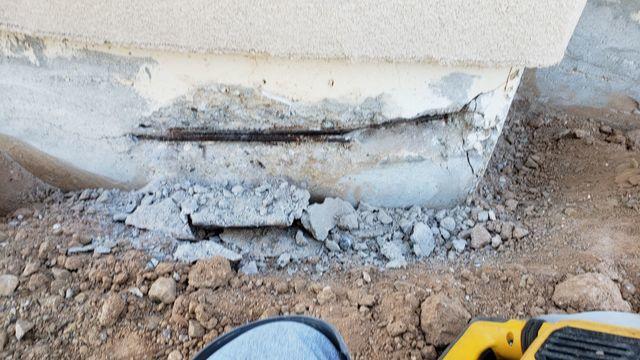
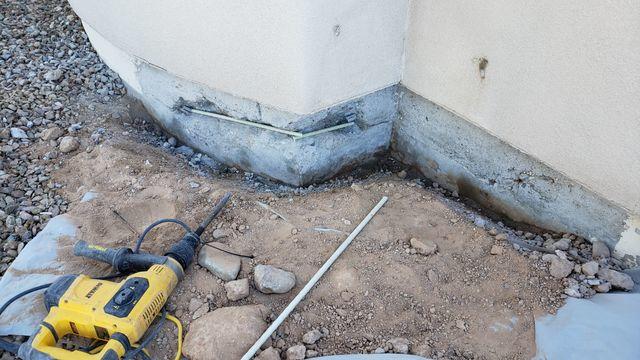
Rebar Must Go
Both the damaged concrete and existing rebar is cut out.
Installing NeveRust
Here you see our patented NeveRust composite being installed.
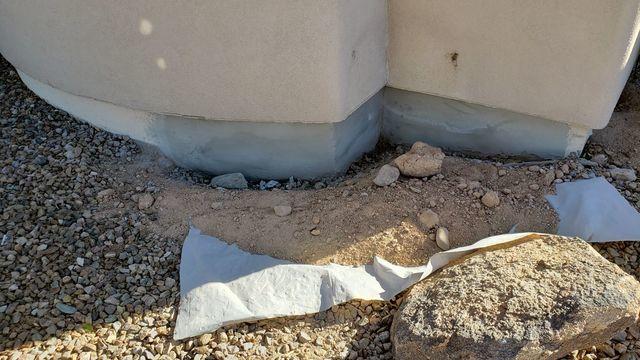
Patch work
Once the NeverRust composite is in place the crew patched the stem wall.