
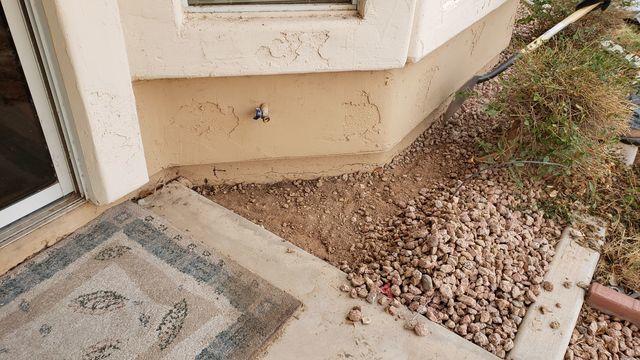
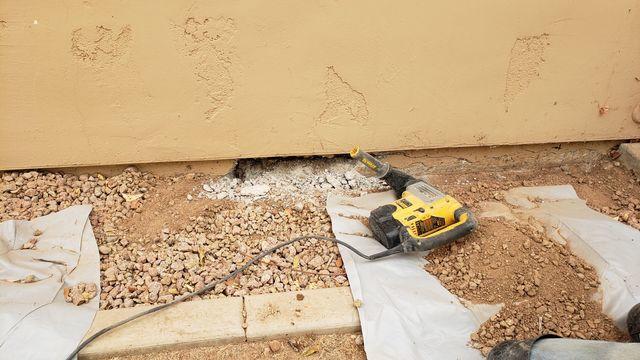
NeverRust Install - Mesa, AZ
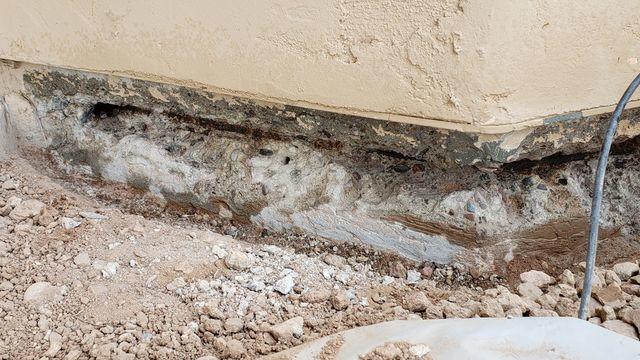
Stem wall before the repair was done.
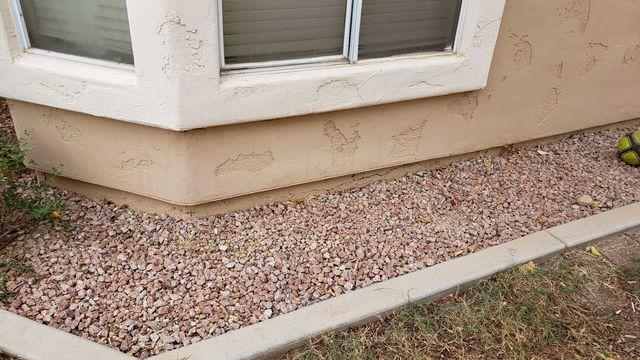
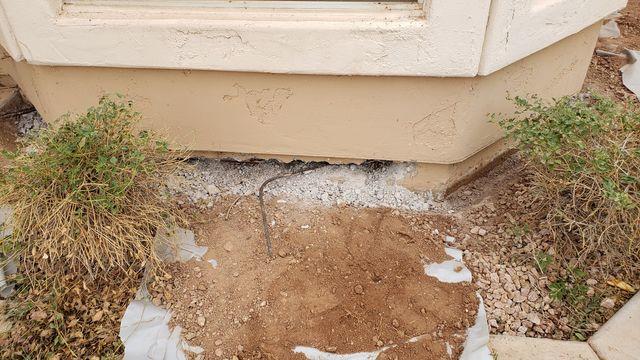
NeverRust Install - Mesa, AZ
Here you see another area of the stem wall before the repair.
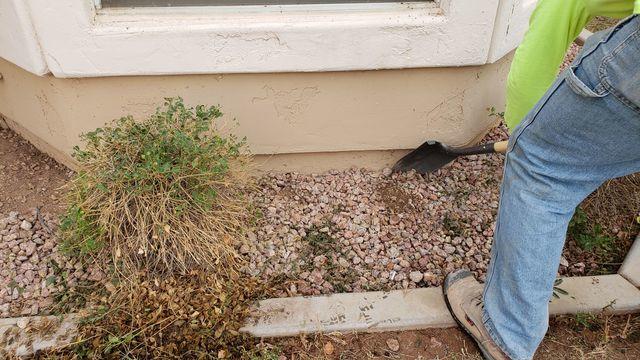
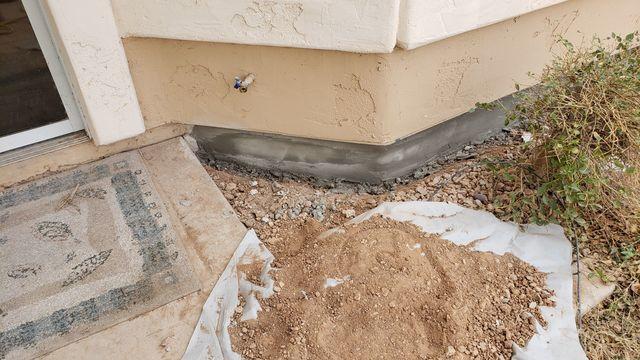
NeverRust Install - Mesa, AZ
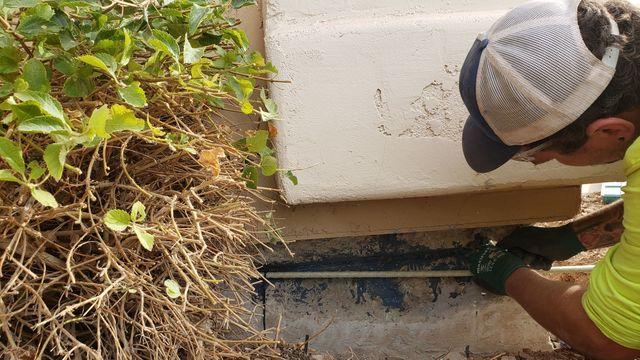
The crew dug a small trench to get better access to the stem wall.
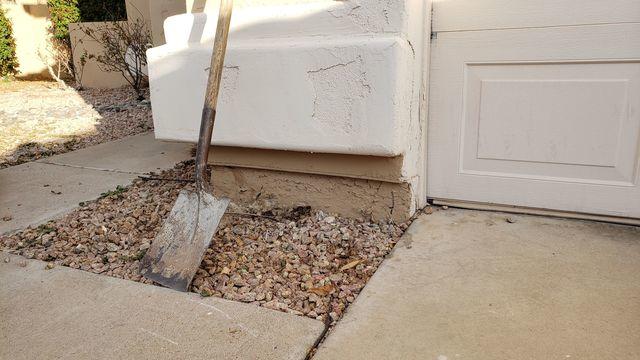
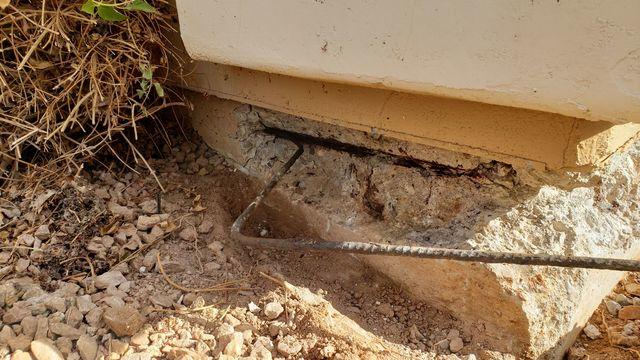
NeverRust Install - Mesa, AZ
Horizontal cracks in stem wall can be a sign the the existing rebar has oxidized.
NeverRust Install - Mesa, AZ
The weakened concrete is cut out to get to the old rebar inside the stem wall.
NeverRust Install - Mesa, AZ
The old rebar is then removed from the stem wall.
NeverRust Install - Mesa, AZ
Close up of the old rebar before being 100% removed.
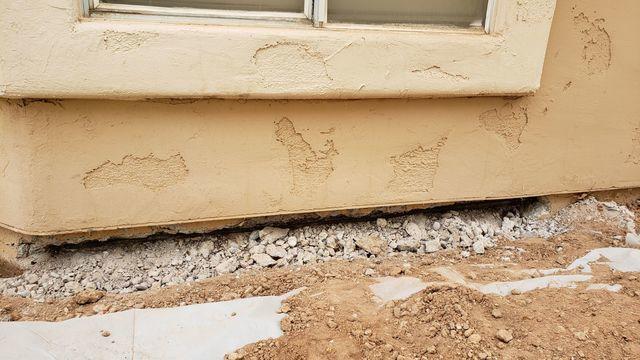
NeverRust Install - Mesa, AZ
After the concrete has been cute away and the rebar removed from this section of stem wall.
NeverRust Install - Mesa, AZ
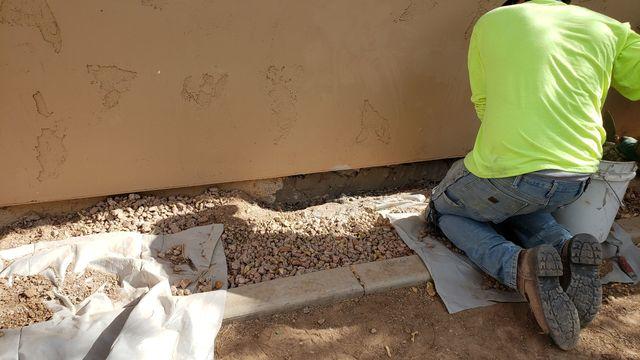
Once all the rebar is removed the crew can begin to install our patented NeverRust Composite.
NeverRust Install - Mesa, AZ
Here you see Foreperson Raymundo install the NeverRust Composite.
NeverRust Install - Mesa, AZ
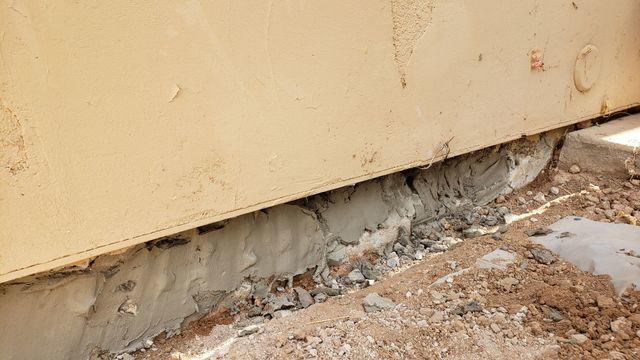
After the NeverRust is in place the stem wall is patched.
NeverRust Install - Mesa, AZ
Closer look at the stem wall after it had been patched.
NeverRust Install - Mesa, AZ
Raymundo did a excellent job!

NeverRust Install - Mesa, AZ
Ok one look at the finish product! We just can't get enough of how good the stem wall looks now.