
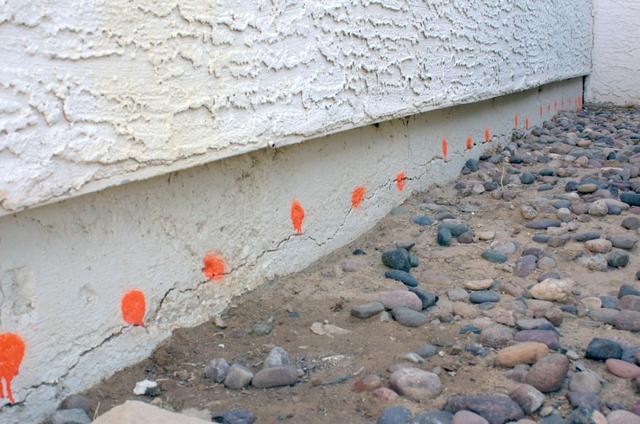
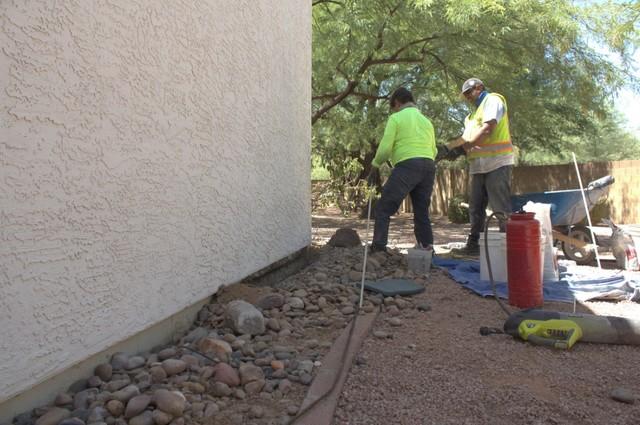
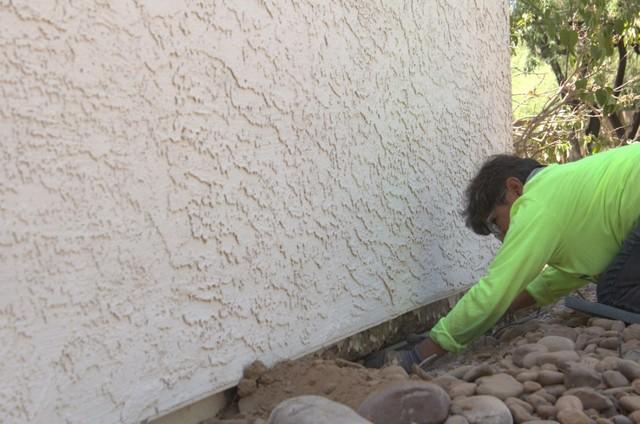
Stem Wall Repair - Before
One section of the home's stem wall that was damaged
Scottsdale NeveRust Install
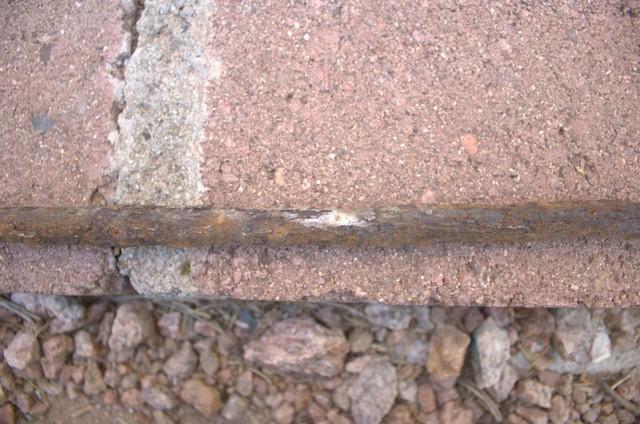
Horizontal cracks in a home's stem was is a serious sign of problems.
Scottsdale NeveRust Install
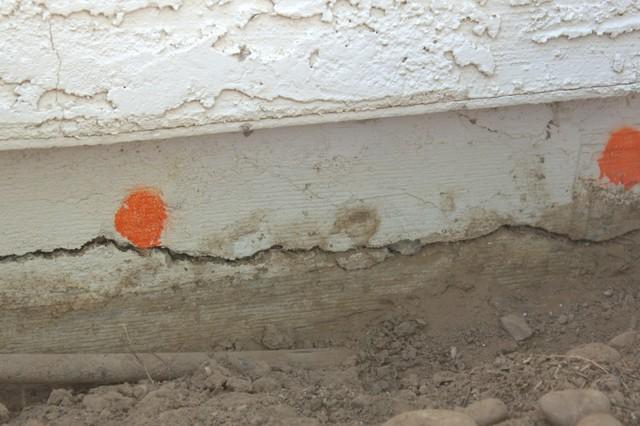
The concrete is weakened by the rebar inside becoming oxidized.
Scottsdale NeveRust Install
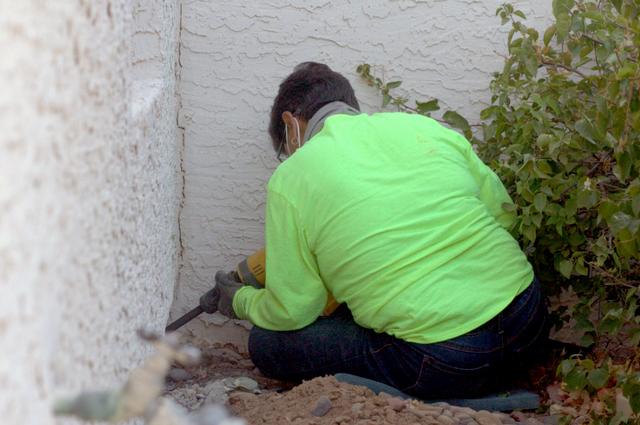
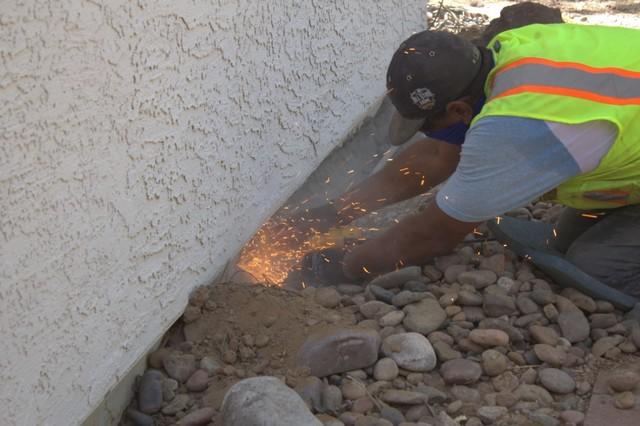
Foreperson Sarah Murillo chipping out the weakened concrete.

Scottsdale NeveRust Install
Close up look at the process of cutting out the concrete.

Scottsdale NeveRust Install
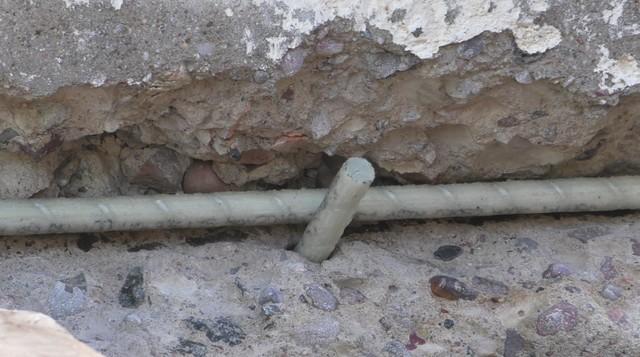
After the concrete is cut away you can clearly see the rebar.
Scottsdale NeveRust Install
The existing rebar also gets removed.
Scottsdale NeveRust Install
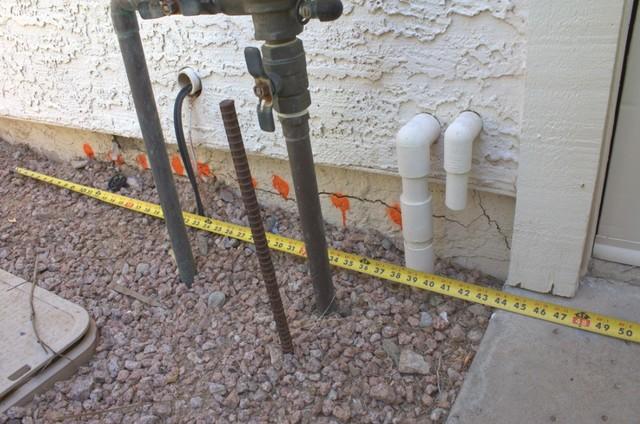
Here, you see just how back the rebar was inside of the stem well.
Scottsdale NeveRust Install
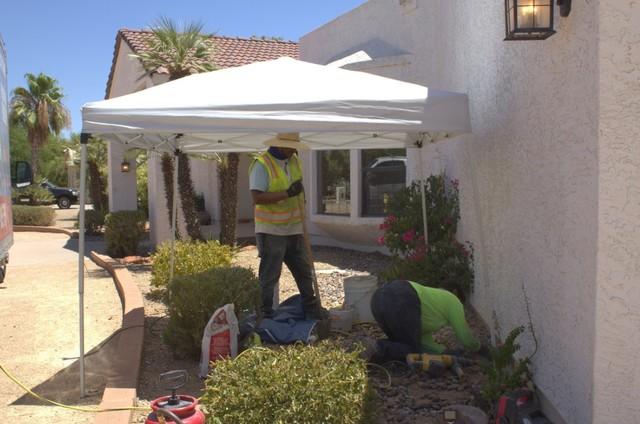
In this Arizona heat staying cool is a must!
Scottsdale NeveRust Install
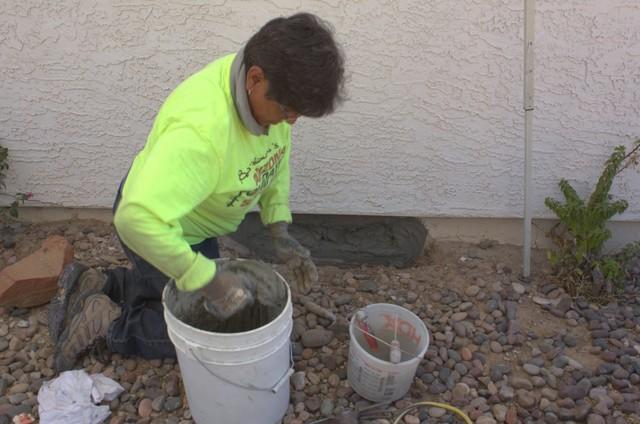
The crew getting ready to install the NEVERUST non-ferrous composite.
Scottsdale NeveRust Install
Sarah getting the composite into place.
Scottsdale NeveRust Install
Here, you see a close up of our patented NEVERUST composite.
Scottsdale NeveRust Install
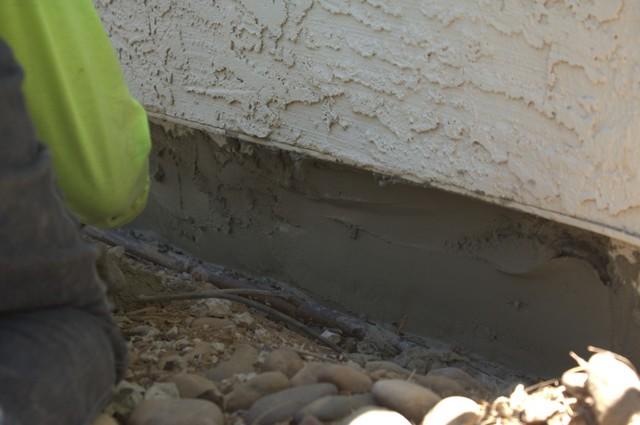
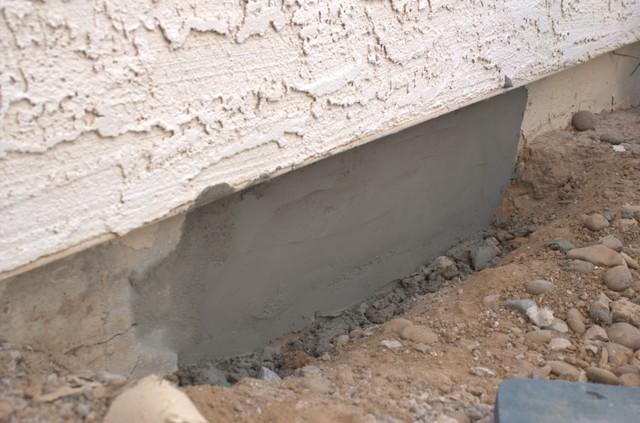
After the NEVERUST is installed the stem wall is patched.
Scottsdale NeveRust Install
Foreperson Sarah patching another section of stem wall.
Scottsdale NeveRust Install
The finished product!
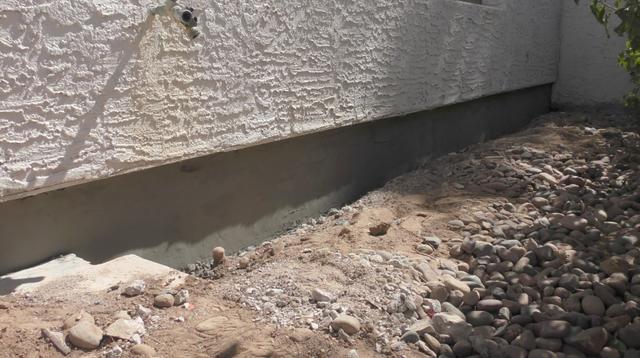
Scottsdale NeveRust Install
Just another look the job all finished.