
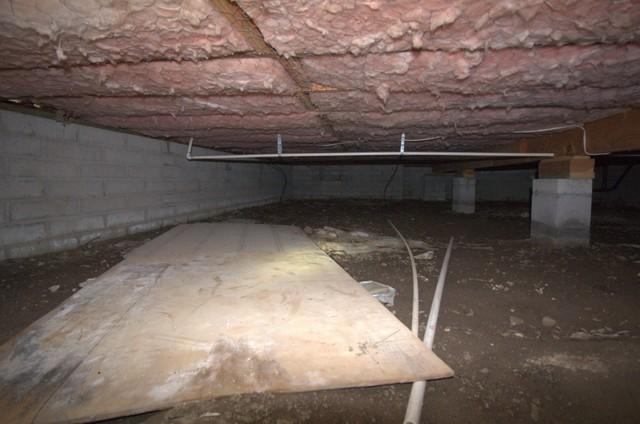
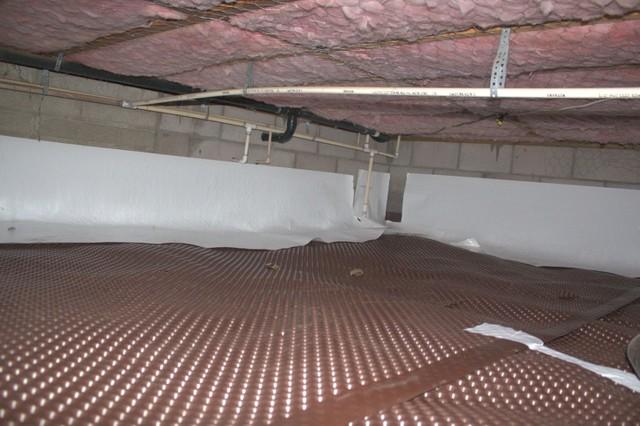
Crawl Space - Before
A look at the crawl space before the crew installed the CleanSpace® vapor barrier.
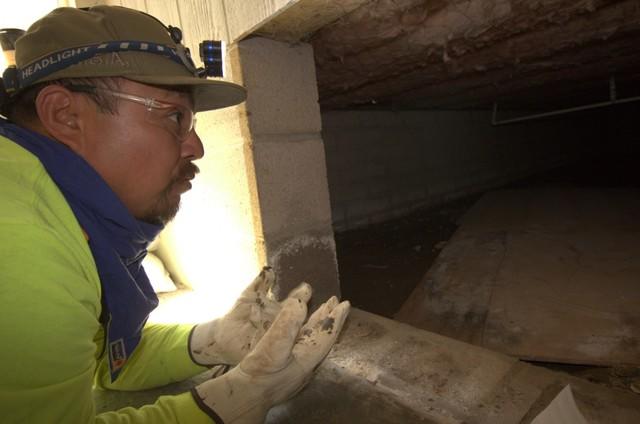
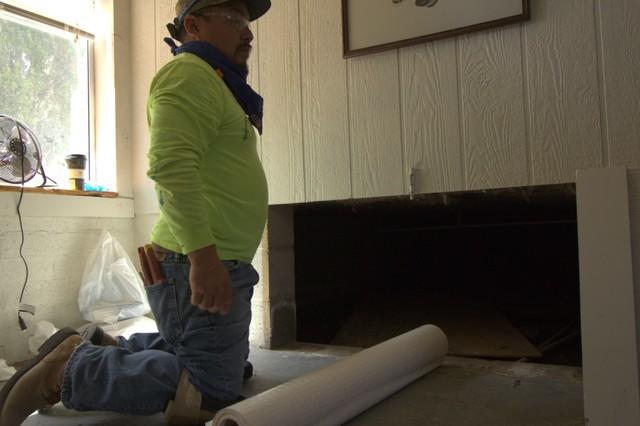
Crawling Under
Foreman Felix getting ready to head into the crawl space to begin the job.
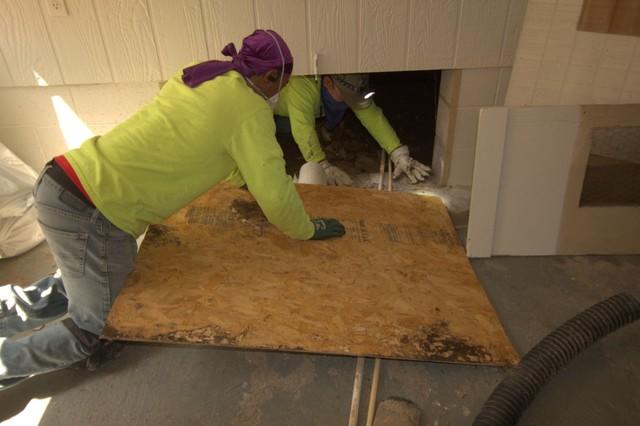
Getting Prepped
Felix and crew member Kristopher laying plywood to help them work.

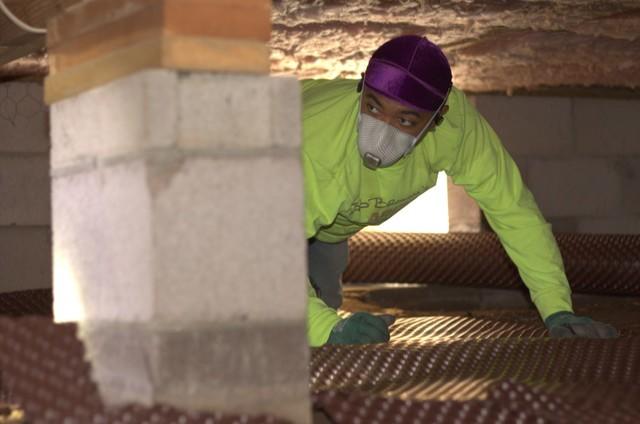
Drainage Matting
Here, you see Felix cutting matting the goes under the vapor barrier. This promotes good drainage over the entire crawl space floor.
Drainage Matting - 2
Kristopher making sure the drainage matting gets evenly space throughout the crawl space.
Drainage Matting - 3
A look the matting after being layed across the crawl space.

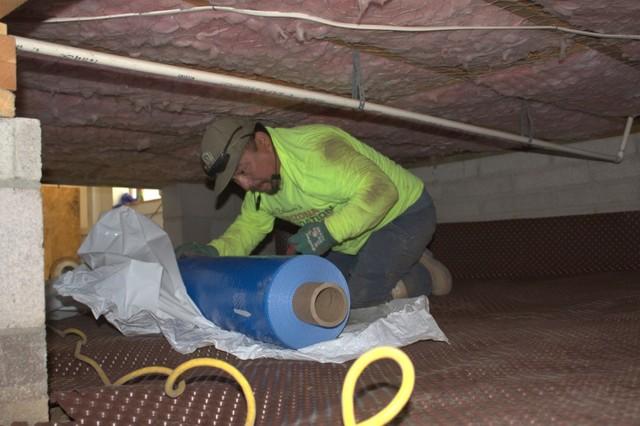
CleanSpace® Install Beginning - 2
Here, you see Kristopher making sure the vapor barrier is securely in place on the wall of the crawl space.
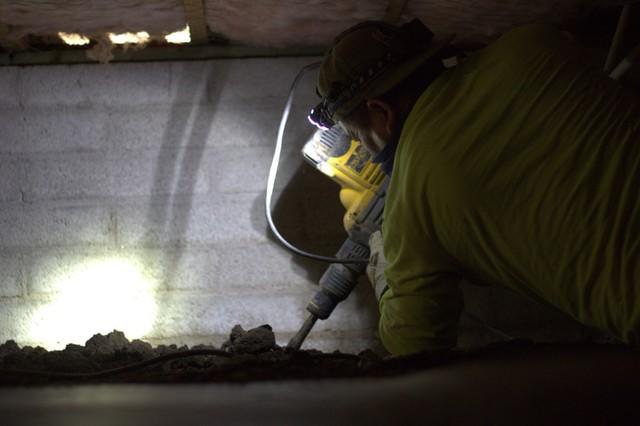
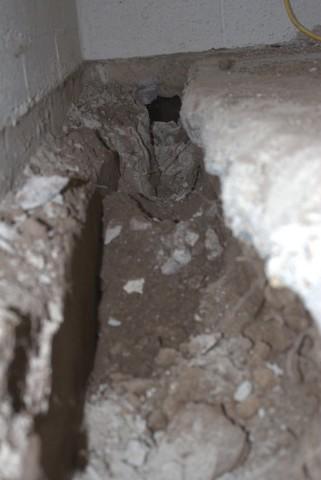
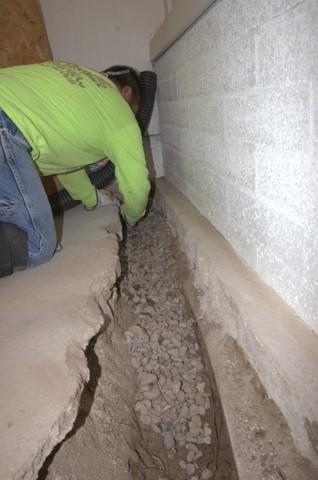
Crawl Space Trench
Felix breaking up rock and dirt in the crawl space to dig a trench.
CleanSpace® Install Beginning
Felix getting the vapor to crew member Kris to get installed along the walls of the crawl space.
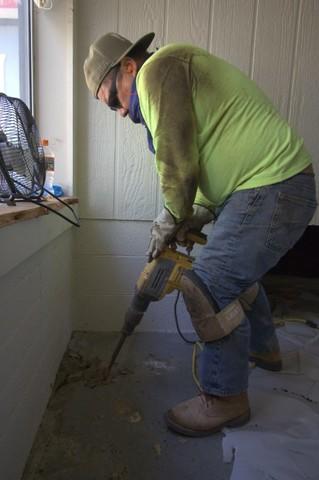
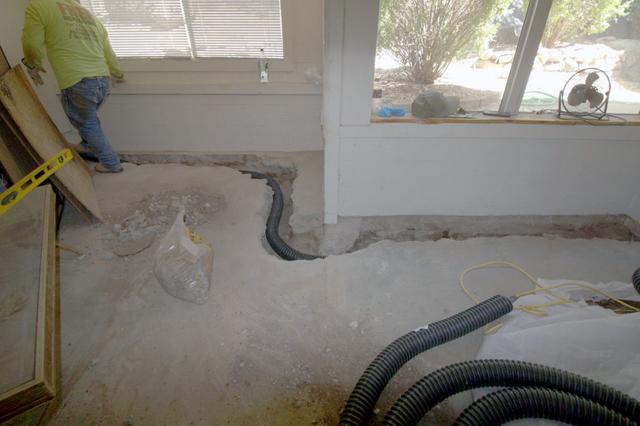
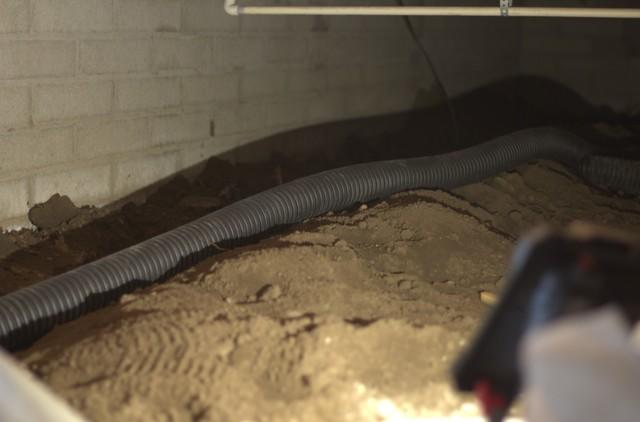
Another Trench
Just outside the crawl space Felix makes another trench
Another Trench - 2
A look inside the trench. Again this will house drain tile that will take water to the sump pump.
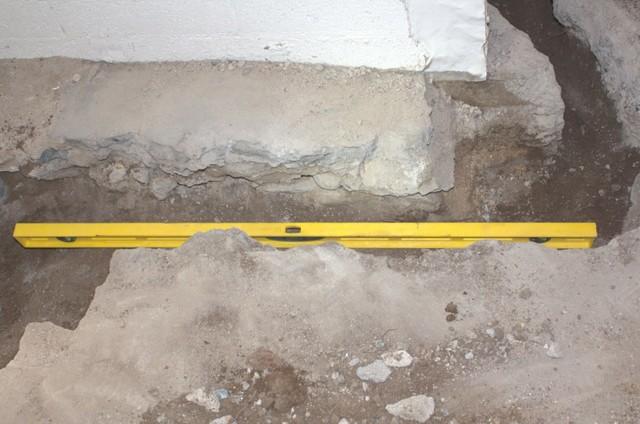
On The Level
The crew makes sure the trench is leveled so the water will flow to the sump pump.
Drain Tile Install - 3
A look at the drainage tile after it had been installed in the trench outside of the crawl space.
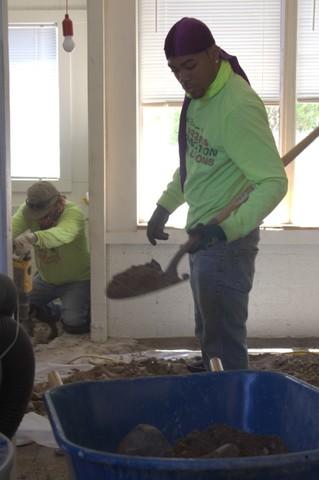
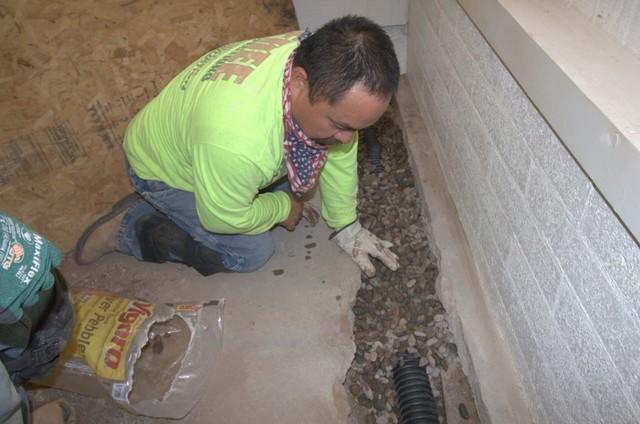
Some Clean Up
Kristoper shoveling dirt and concrete debris from the trench
He's Rockin!
Gravel is placed inside the trench so the drain tile is not sitting on dirt.
He's Rockin! - 2
Washed stone is placed on top of the tile to aid in drainage.
Drain Tile Install - 3
Here, you see the drain tile after it had been put in place.
More Drainage Matting
Drainage matting is place on top of the washed stone.
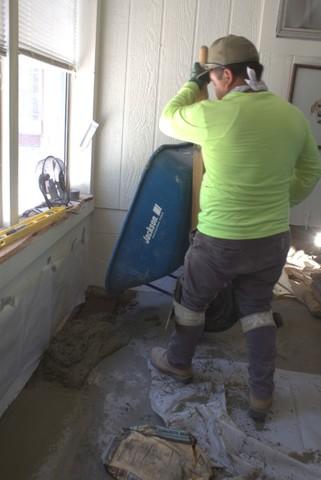
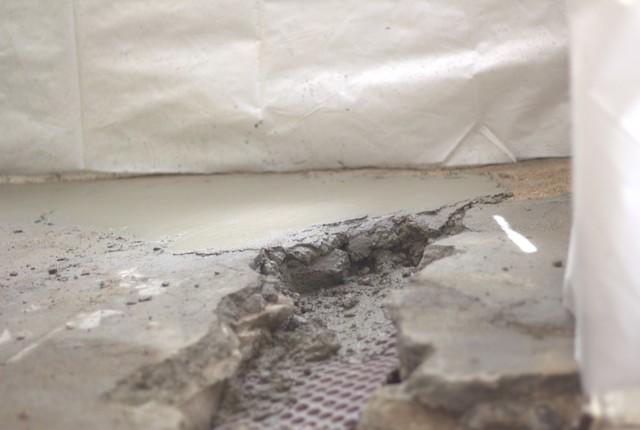
Backfill
Felix pours concrete into the trench.
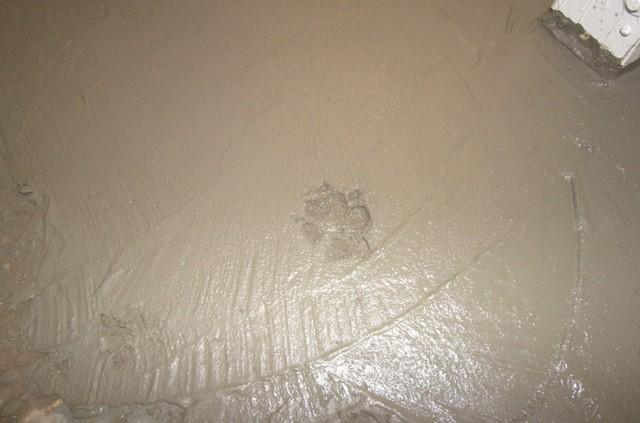
Four Legged Help
It looks as though our crew got some help from a four legged friend.

Backfill Finished
A look at this area after the concrete on been filled back in.
CleanSpace® Install
Back inside the crawl space Felix rolls out the CleanSpace® vapor barrior.
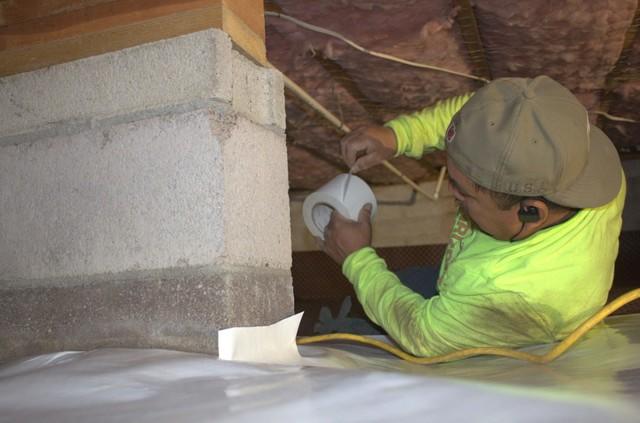
CleanSpace® Install - 2
It is important the the vapor barrior is set securely in place.
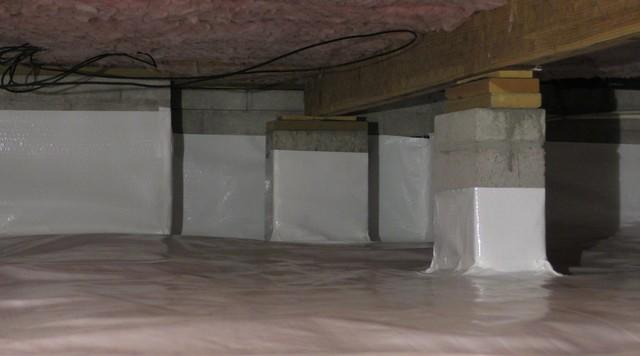
Job Complete
Here, you see the crawl space after CleanSpace® vapor barrier had been installed.