
Pier Installation in Pinetop
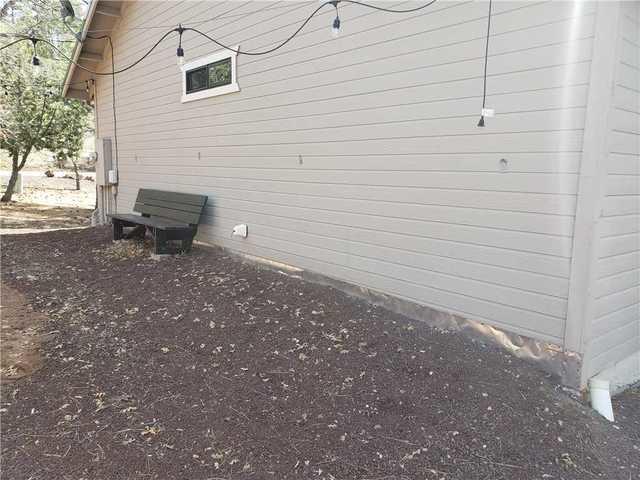
Before the crew began digging for the piers
Pier Installation in Pinetop
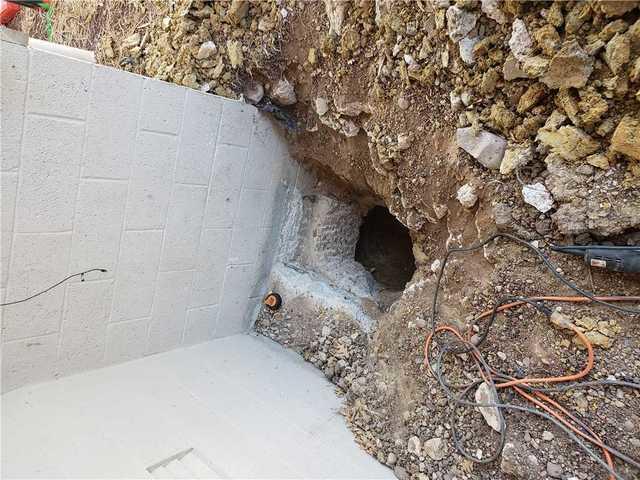
Several holes are dug around the home.
Pier Installation in Pinetop
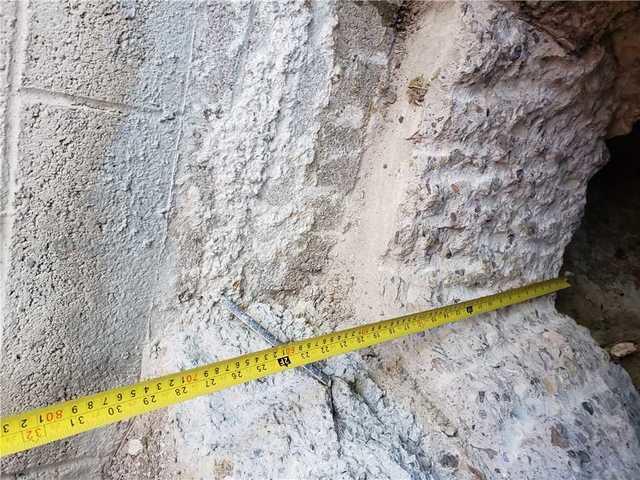
The crew measuring to for the piers
Pier Installation in Pinetop
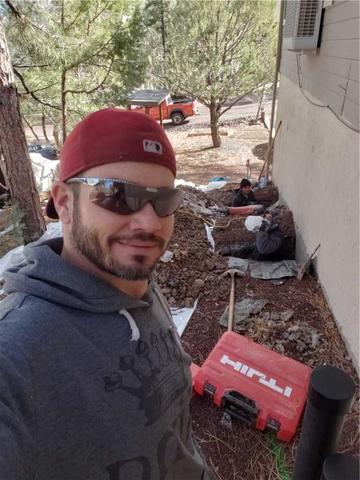
Our foreman Gregory Andrews and crew getting ready to install piers
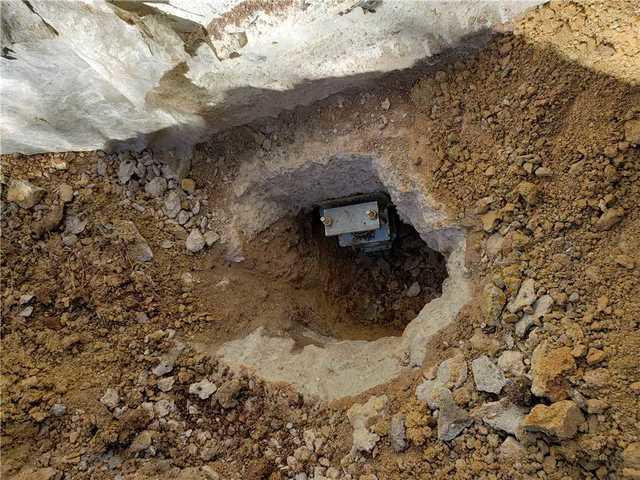
Pier Installation in Pinetop
One of the piers after it had been installed.
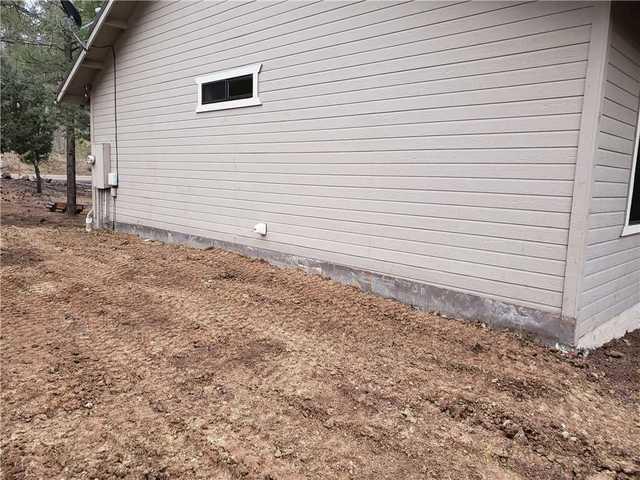
Pier Installation in Pinetop
After all the piers are installed the crew backfills every hole.