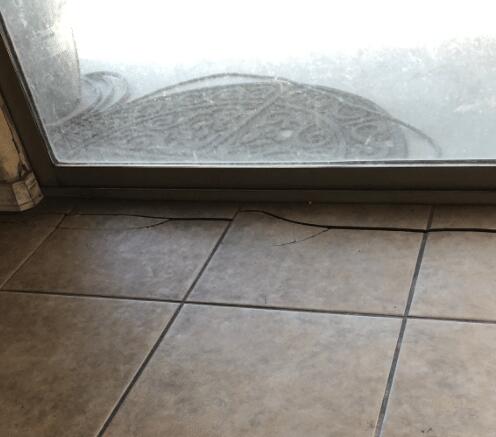
Symptom of a Settlement Foundation Problem
Everything was fine until cracks started to appear out of nowhere all over the flooring tile. Aside from the cracks being incredibly noticeable, they were just expanding and getting deeper.
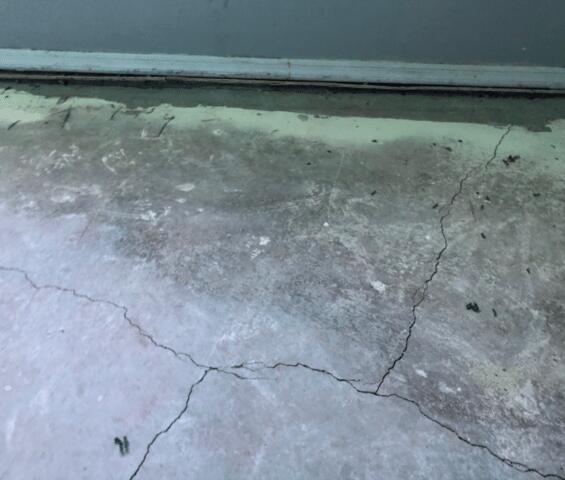
Crack Stitching Repair Process: Step one
The first thing our home heroes did to start with the crack stitching repair process was to remove all the flooring tile to expose the cracks and see how big the problem was.
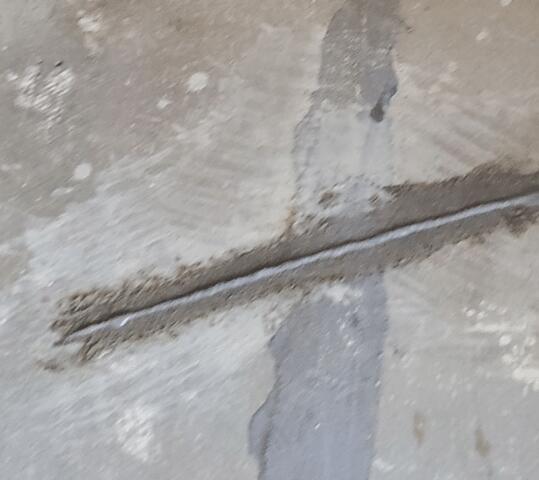
Crack Stitching Repair Process: Step two
After exposing the concrete cracks, our heroes made some nonparallel cuts all over the cracks to add some carbon fiber laminates, as shown in this image.
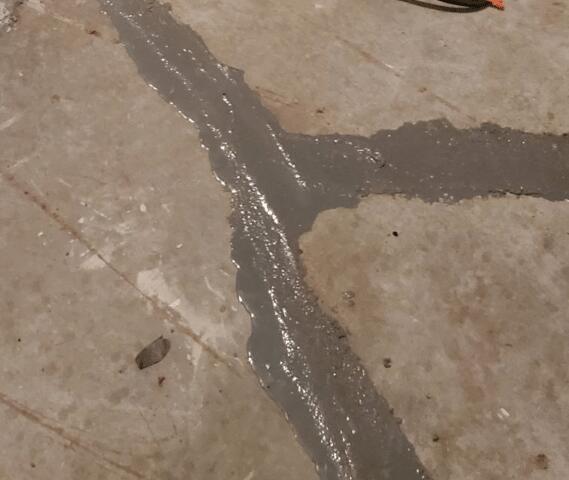
Crack Stitching Repair Process: Step three
Right after adding the carbon fiber laminates, our professionals added a low viscosity material to bond the two parts of the slab and seal it.
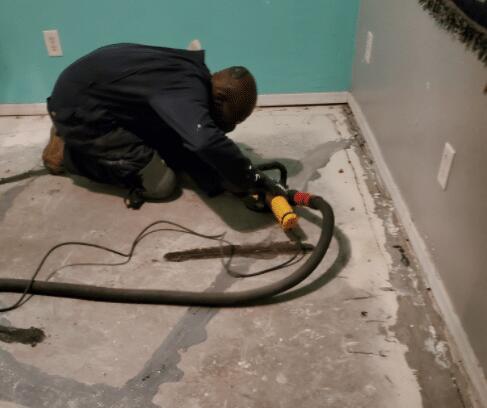
Crack Stitching Repair Process: Last step
After all the material dries up, our home heroes need to grind the surface of the floor to get rid of any imperfections or irregularities.
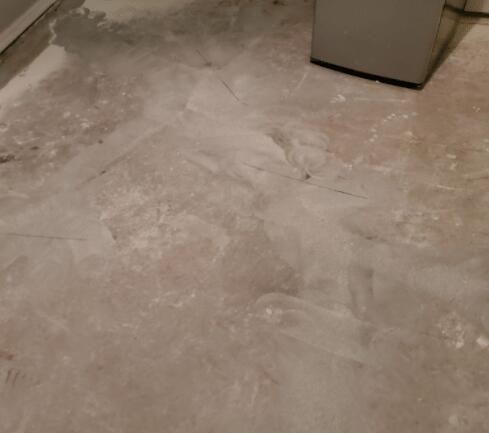
After the crack stitching repair process.
As you can see in this photo, the concrete cracks are gone, and the floor looks smooth, neat and ready for new flooring. Thanks to Arizona Foundation Solutions, the homeowners did not need to rebuild their concrete slabs but only repaired them.
