
Carbon Fiber Laminates in the Crack Stitching Repair System
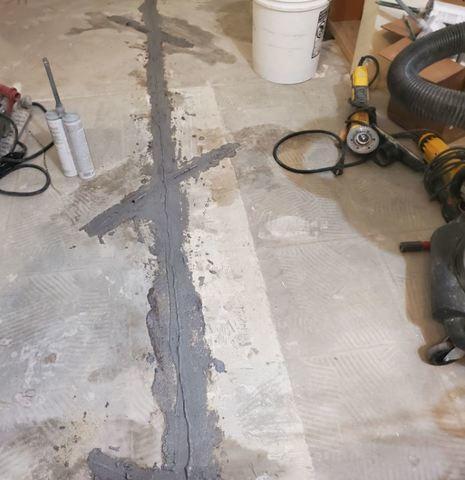
The first step before adding any material onto the slab crack is to make some non-parallel cuts. Once the cuts get made, our heroes will add some carbon fiber laminates to the cuts.
Crack Stitching Repair Process
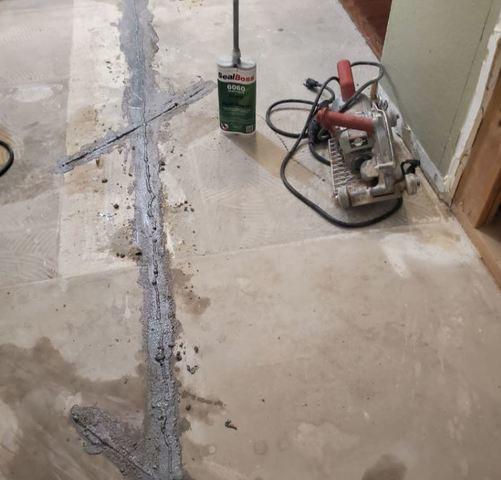
After adding the carbon fiber laminates, our heroes need to add a low viscosity material to seal and fill the concrete cracks.
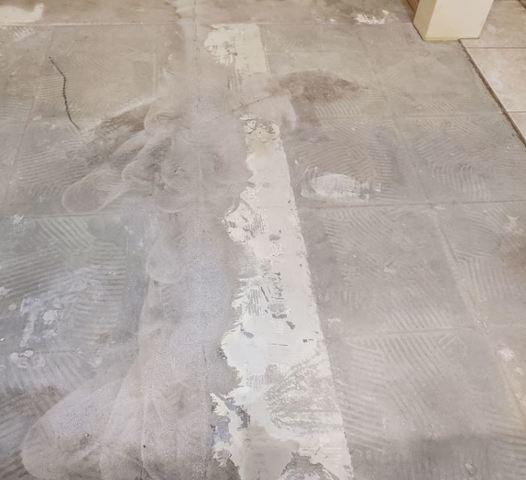
After Crack Stitching Repair System - 1
Here is a picture of a concrete slab crack after the Crack Stitching Repair System.
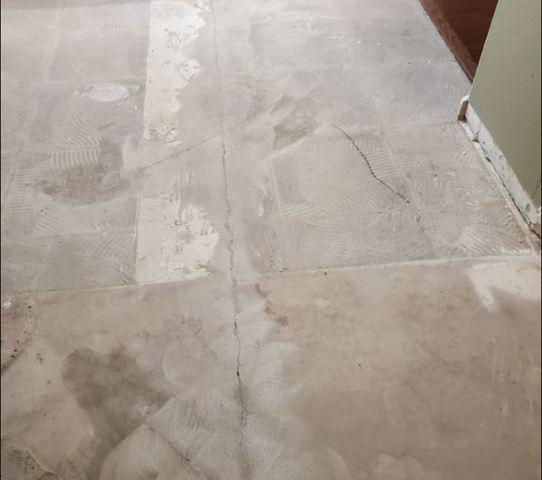
After Crack Stitching Repair System - 2
Here is another area of the house where the Crack Stitching Repair System got implemented.