
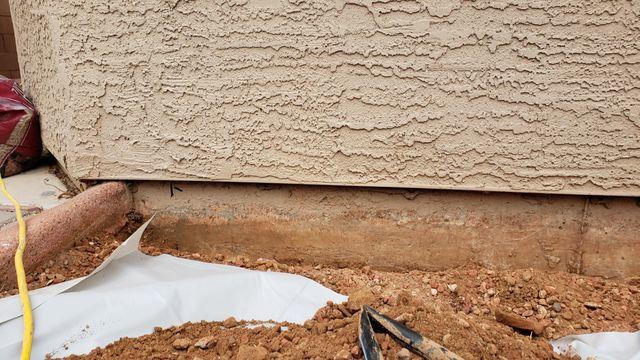
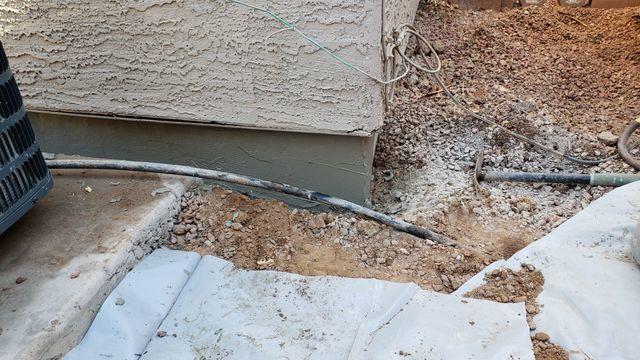
Stem Wall Repair Area - Before
Portion of the stem wall before the repair.
Stem Wall Repair Preparation
The existing rebar inside the stem wall became oxidized and damaged the concrete
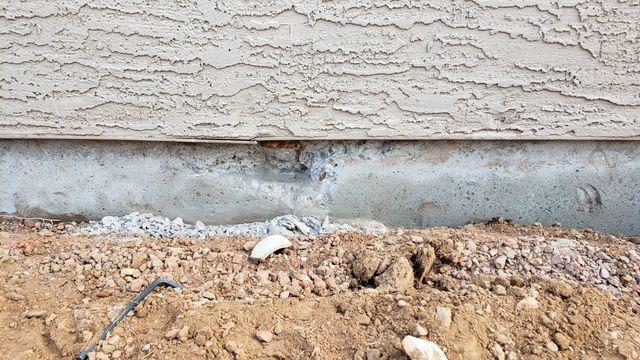
Damaged, Weak Stem Wall
Here we have a section of damaged stem wall. The NeveRust Composite Stem Wall System comes with a warranty.
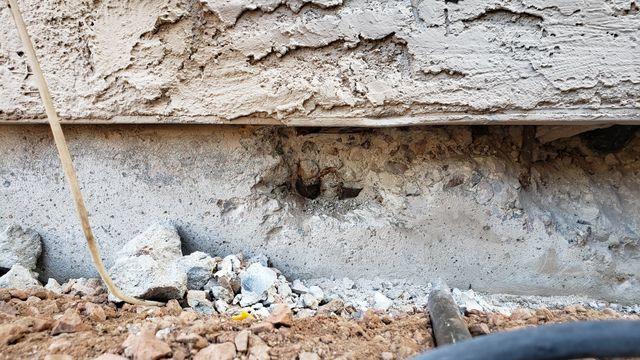
Removing Crumbling Concrete
The crew cut out the weakened concrete and existing rebar to make way for our patented NeveRust composite.
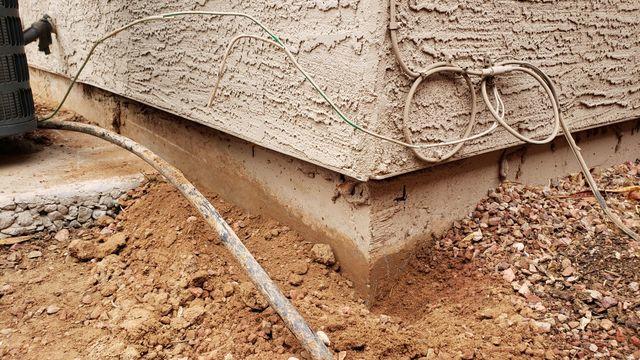
After the Stem Wall Repair
After the NeveRust composite is installed the stem wall is patched.